Tenancy session activities are raised against a Tenancy Casefile until the case is closed.
Tenancy Management functionality tracks all Tenancy Counselling services provided to and associated with, clients.
Instructions
Step 1. Log into your CRM database (refer to Logging On for further information).
Step 2. Find the record for the required Client.
If the client does not exist in your database, add a client record.
Step 3. Scroll to the Tenancy Casefile section of the Client record.

Step 4. Select the required casefile from the list.
If the casefile does not exist, create a tenancy casefile.
Step 5. Scroll to the Tenancy Session subpanel.

Step 6. Click Create to create a new session
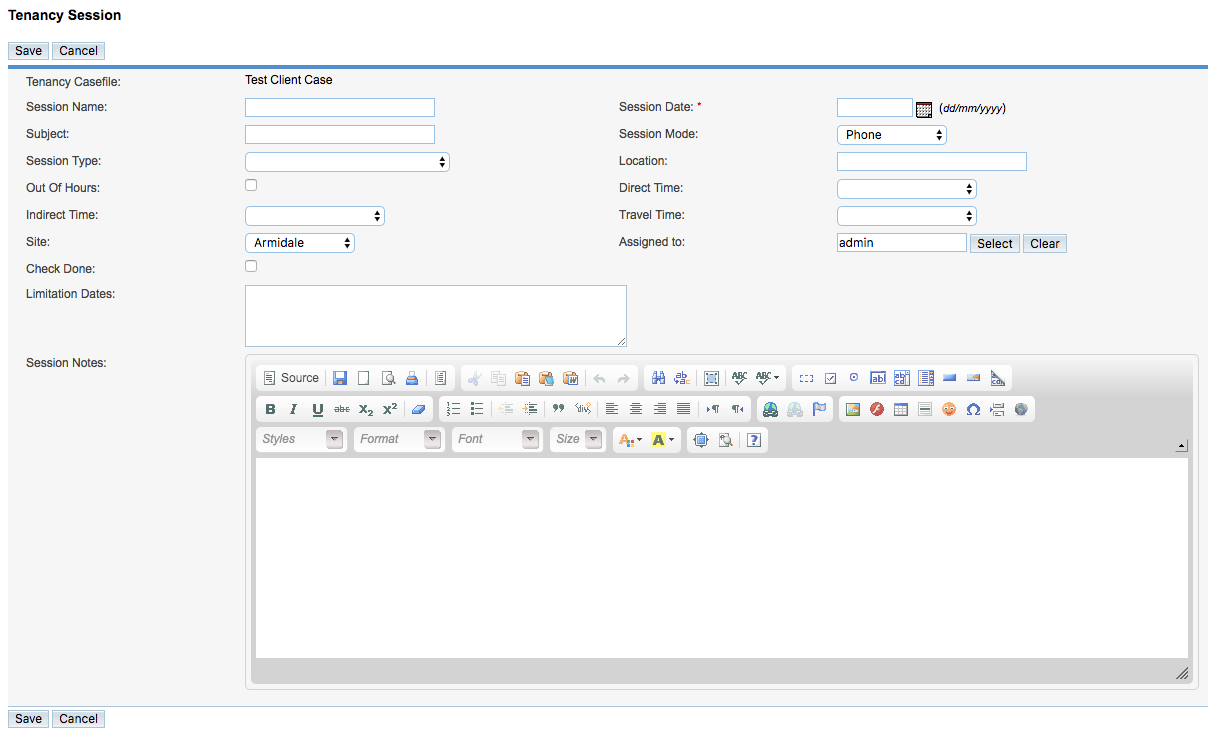
Enter the required information:
- Session Name
- Enter a name for the session
- If no name is entered, the name defaults to “Tenancy Session – <date>”
- Session Date
- Select a date from the calendar, or enter a date in the format dd/mm/yyyy
- Subject
- Enter a subject for the session
- Session Mode
- Select the mode from the drop-down list
- Session Type
- Select a session type from the drop-down list
- Location
- Enter a location for the session
- Out of Hours
- Click the checkbox if the session took place out of business hours
- Direct Time
- Enter the time taken for the session
- Indirect Time
- Enter any time taken outside of the session, to prepare
- Travel Time
- Enter any travel time for the session
- Site
- Select the appropriate site, this will default to your regular site
- Assigned to
- Select the assignee, this will default to the user creating the record
- Check Done
- Click the checkbox if any necessary conflict checks have been completed
- Limitation Dates
- Record any limitation dates on conflict checks
- Session Notes
- Enter the details of the session, including actions and outcomes.
Tip: cutting and pasting into the session notes area from
another system can cause issues due to formatting information
contained within the text.
Always copy any text into a text editor (notepad etc) to
clear any formatting before pasting into Session notes.
Step 7. When all information is entered, click Save
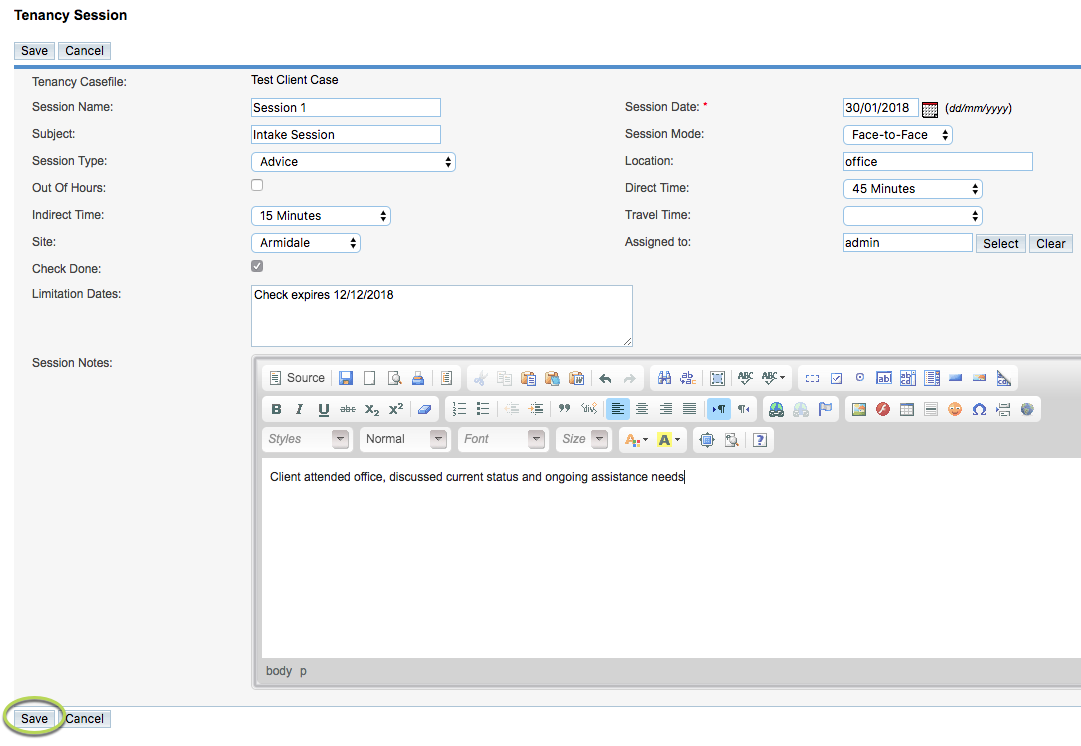
The new session is added to the session list for the casefile
To view the list without the case notes, click the [-] next to the session name
Next Steps
Further Information
For further information, refer to the following articles: