Incident Management is a process designed to identify and analyse incidents that have occurred and determine how to prevent a repeat of the situation.
Incidents can be recorded in the database to link them to affected clients and track the resolution of the situation.
Instructions
Step 1. Log into your CRM database (refer to Logging On for further information).
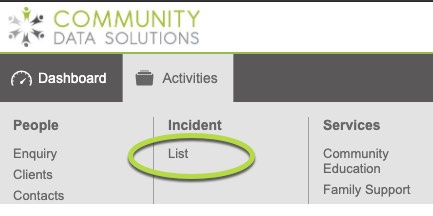
Step 2. Select Incident (List) from the Top Menu
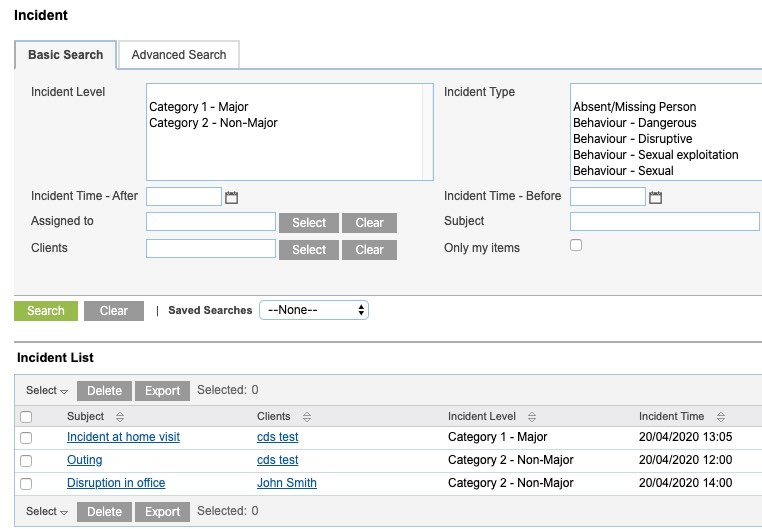
The Incident page is displayed
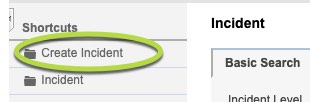
Step 3. Click Create Incident from the Shortcuts pane on the left hand side.
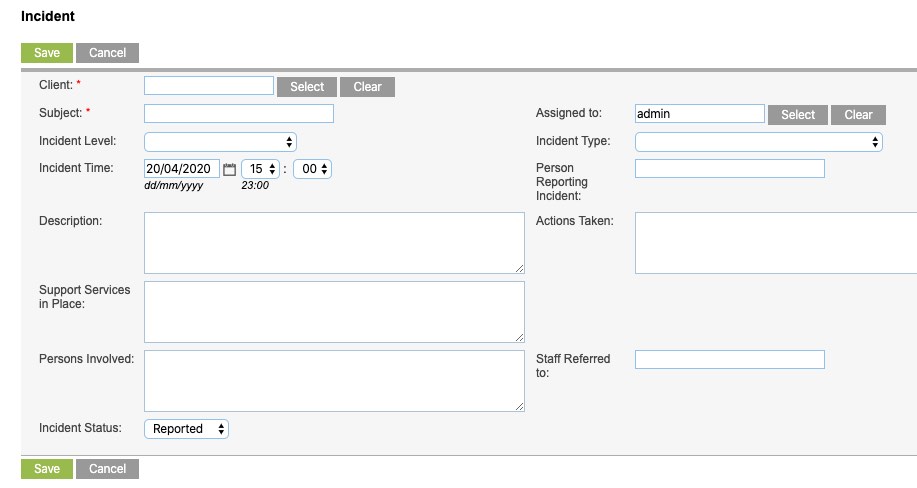
The create Incident page is displayed
Tip: You can also create an incident from the client record. Simply select the correct client, then click create on the Incident Sub-panel in the client record.
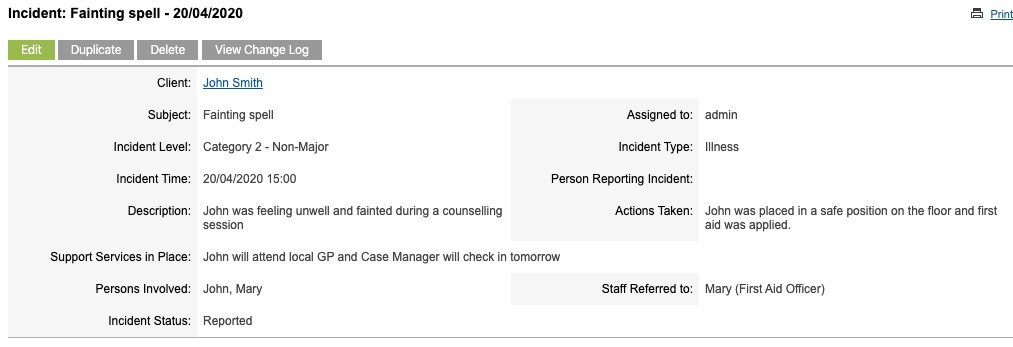
Step 4. Enter the required Incident information
- Client
- Select the Client this incident relates to. If creating the incident from within the client record, this will be populated automatically.
- Subject
- Enter a brief title for the incident.
- Assigned To
- This defaults to the current user, you may choose to assign it to another system user.
- Incident Level
- Select the Level (severity) of the incident from the dropdown list.
- Incident Type
- Select the type of incident from the dropdown list.
- Incident Time
- Select the time the incident occurred (started)
- Person Reporting Incident
- Enter the name of the person who initially reported the incident
- Description
- Enter the details of the incident
- Actions Taken
- Record any actions taken in response to the incident
- Support Services in Place
- Record any support services that have been put into place for the affected client or staff members.
- Persons Involved
- Record all people involved in the incident, including staff, clients, members of the public
- Staff Referred to
- Enter any staff members this incident was referred to
- Incident Status
- Select the current status of the incident from the dropdown list. This defaults to Reported.
Step 5. Click Save.
The Incident is saved successfully.