Multi-Factor Authentication (MFA) also know as 2-factor authentication, can be enabled on individual user accounts to provide an increased level of security.
Users can only enable Multi-Factor Authentication (MFA) on their own user accounts.
When setting up Multi-Factor Authentication, there are 2 options you could use.
You only need to pick 1 of the options listed below to setup Multi-Factor Authentication (MFA)
Option #1: Via SMS
If using this option the user must have a mobile phone they have ready access to, so that they can receive the SMS .
Option #2: Via a Two-Step Verification Application
Before setting up this option you must install an authentication app on your device.
Refer to Multi-Factor Authentication for information on suggested apps.
Instructions
Step 1. Log into your CRM database (refer to Logging On for further information).
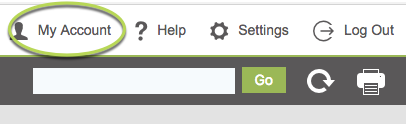
Step 2. Click My Account in the top right-hand corner of your screen
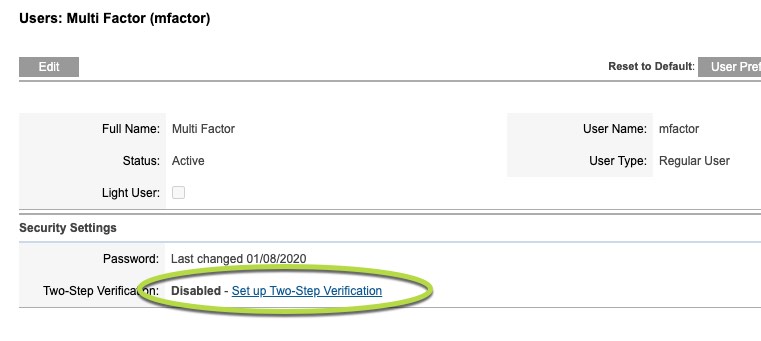
Step 3. Click Set up Two-Step Verification
Tip:
The following instructions below will show you how to use both options, pick one
Step 4. You will be presented with the 2 options
To use Option #1
Click on Set up via SMS
Then use Step 5 through to Step 6
To use Option #2
Click on Setup via Application
Then use Step 7 through to Step 11
Tip:
If you want to exit this screen click on cancel and come back later to set up.


Option #1
Step 5. Start of Option #1 Instructions
Type in your mobile phone number
Then click Send Verification Code.
Tip:
Your phone number will be added to your user account, don't remove as this is needed to send the MFA SMS to

Wait for the Verification code
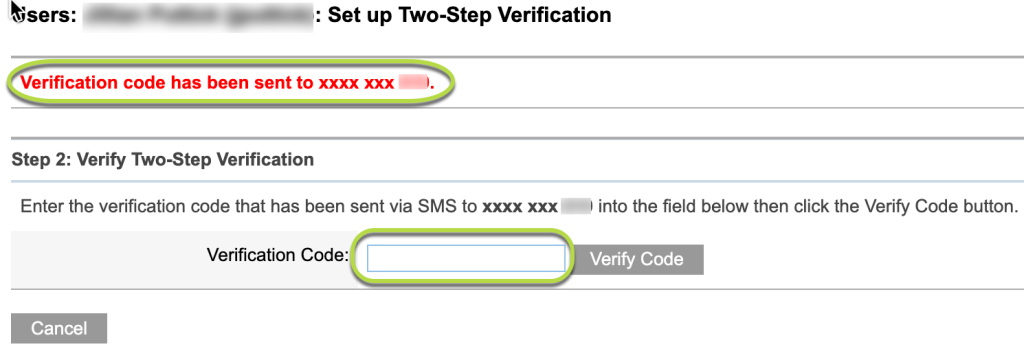
Step 6. Verification code has been sent
Type in the code when you receive it.
Option #1 MFA using SMS has been setup
You will see the message ‘Two-Step Verification has been enabled’

Step 7. Last of Option #1 Instructions
The next time you log in to the database, you will be asked to provide the code sent to your phone via SMS.
Option #2
Step 8. Start of Option #2 Instructions
Tip:
You will need to have installed the Authentication app on your device.
Open your Authentication app on your device.
Find the ‘Add account’ or similar option in your app.
Step 9. User the device to Scan the QR code displayed on your screen
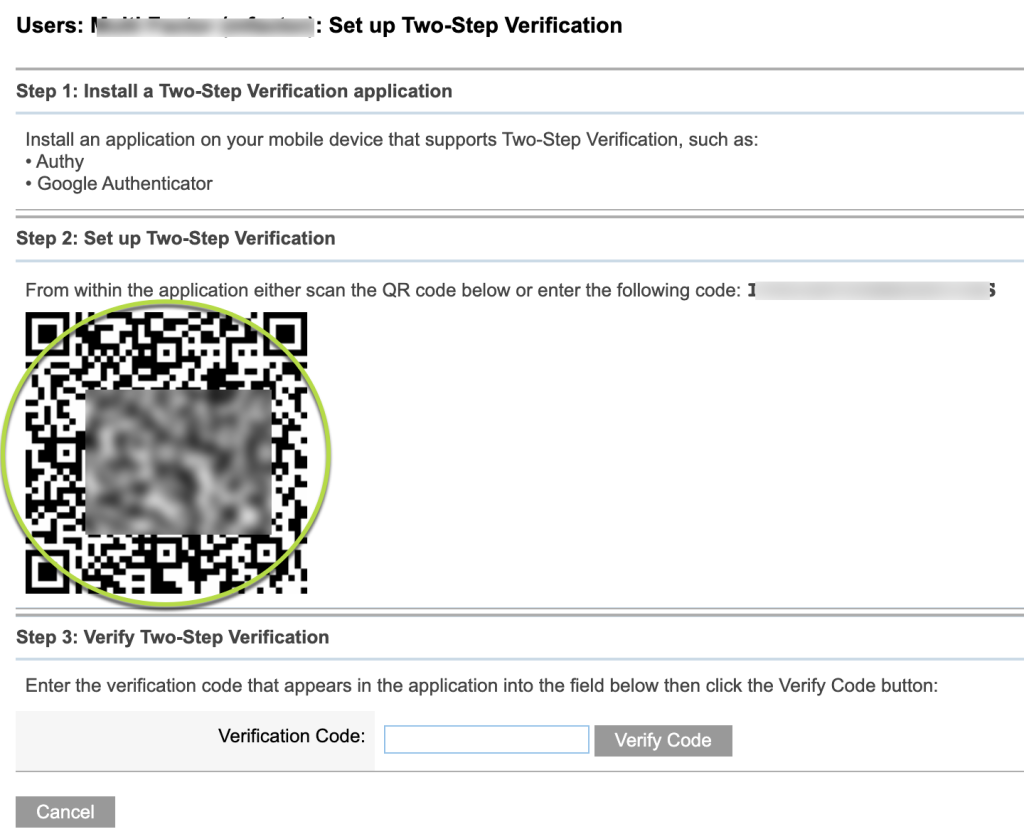
Tip:
A QR code is a type of matrix barcode (or two-dimensional barcode)
Note – if the QR code is not recognised, you can enter the displayed code manually.
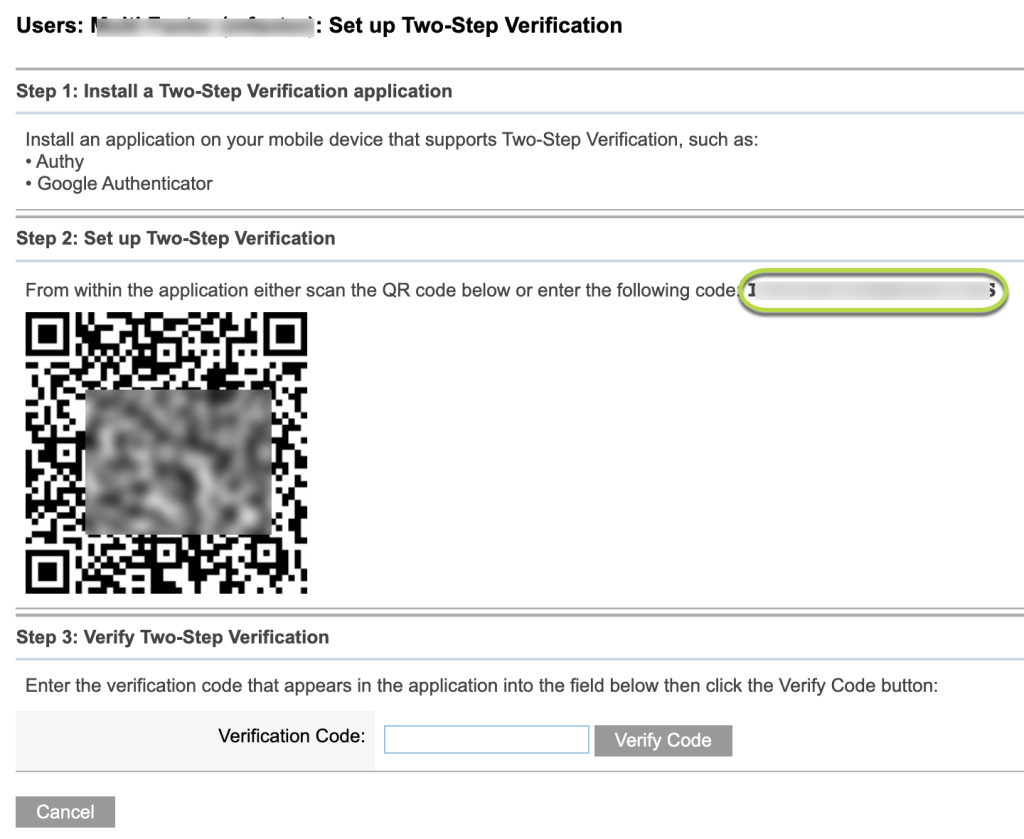
Step 10. On your app, enter any required details and save the account.
A token will be displayed in the app.
Enter the token into the Verification code field on the database.
Tip:
There is a limited time for you to enter the code into the Verification Code field. If you take too long you will see the following message and need to start over.

If this message appears, delete the account from your app and start again at step 4.
If the code is accepted, you will see the following message:
Two-Step Verification has been enabled
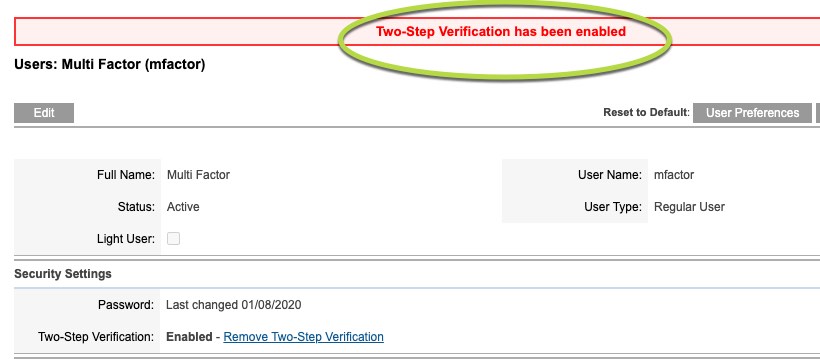
Option #2 MFA using app has been setup
Step 11. Last of Option #2 Instructions
The next time you log in to the database, you will be asked to provide a token from your authentication app.