Community BI is a Business Intelligence Reporting system.
For our customers there are different versions of Community BI available. What you have as a user is dependant on what your organization has selected to use.
- Community BI – Dedicated
- Community BI – Light
In your Community Data Solutions CRM Database by default Community BI – Light is available to all customers.
Community BI – Dedicated
For help on the Community BI dedicated version, go to the Community BI Knowledge Base https://communityds.com.au/communitybi
Instructions
Step 1. Log into your CRM database (refer to Logging On for further information).
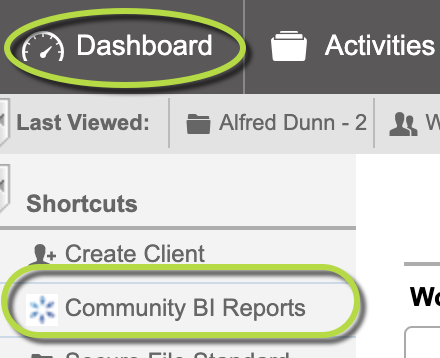
Step 2. At the top left of your screen
Click on Dashboard then click on Community BI Reports
Tip:
If you don't have the role (permission) listed for the report, you won't be able to view the report.
Talk to your database manager about getting the role (permission) you need to view a report.

Managers will see all reports and can edit as needed.
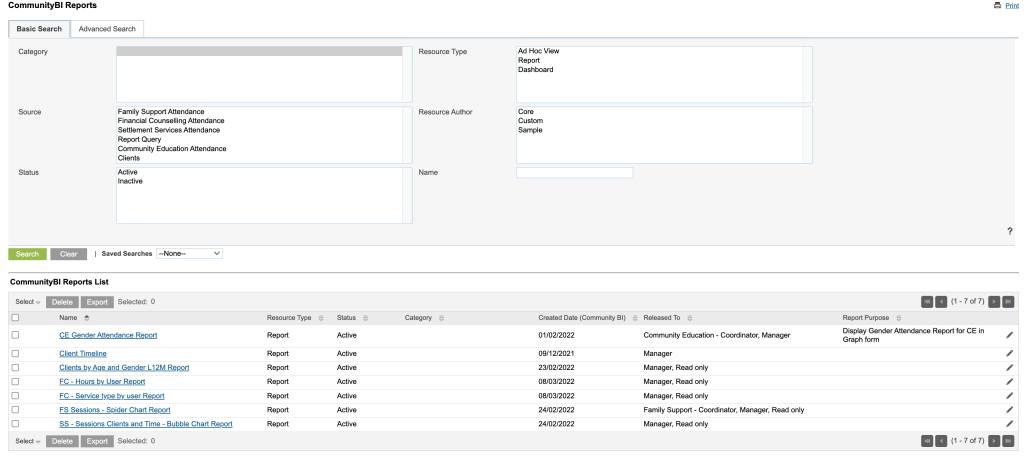
Step. 3. The Community BI Report page is displayed listing any reports/dashboards
Tip:
What you see in the screenshot below may not be what you see in your CRM Database.
Your organisation may have arranged to have different CommunityBI Reports available.
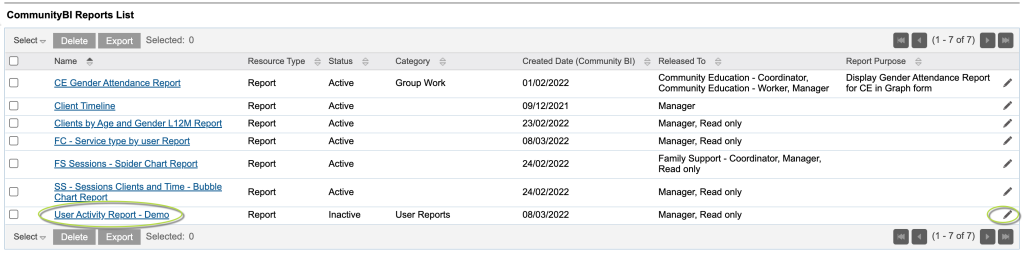
Step. 4. Select the report to change/add a Category
On the right side of the report
Click on the pen icon to edit the report you want to add a Category
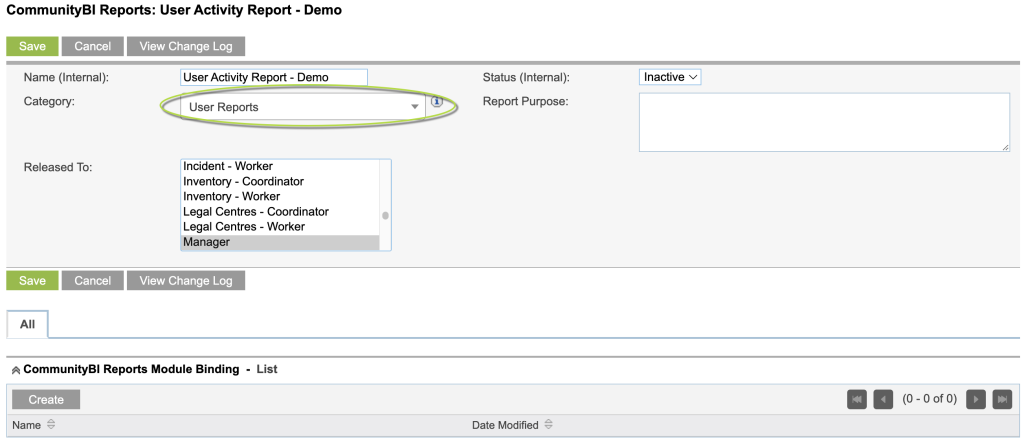
Step 5. You are now in the edit screen for that report
Click on the drop down arrow for the Category field.
Tip:
If you hover your mouse over the i icon next to the Category field it will tell you "This field accepts values that are not in the option list".
This basically means you can add to the list and create a new category.
Tip:
Using a Category on the  report allows you to use the Category as a search criteria on the report list.
For more information on on go to CommunityBI Reports - Searching for reports
You can select from the Category list or go to the next step to create a new Category
Step 6. You will now see a Blank Area and Category list
Tip:
Category list may be empty if none have been created previously.
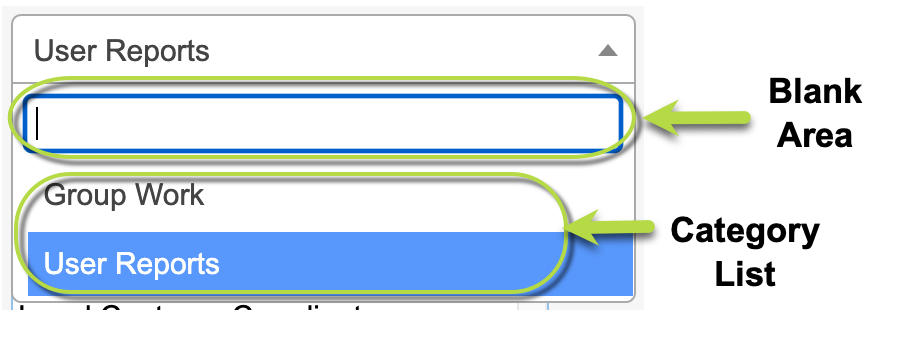
Type in the Blank Area the Category name you want to create
Tip:
As you start typing in the Blank Area the Category list will disappear and you will see the Category being created as you type
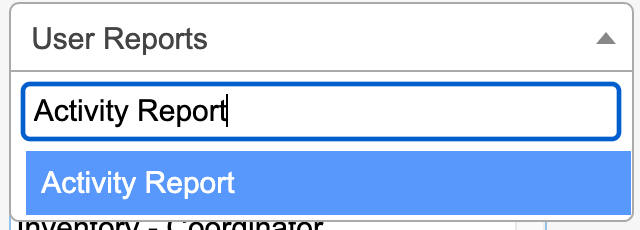
When you have finished typing in the new Category hit enter on your keyboard to accept the entry
The report Category now displays the new Category and shows it in the list
Tip:
If you don't save the Report record, the category will not be added to the list and your report will not be updated with the new Category.

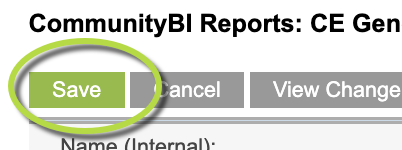
Step 7. When you have finished entering the information.
Click on Green Save button
Tip:
If at any time before saving you want to abort, click on Cancel.
The report you edited now has the category your selected/created and can be used as a search criteria
Further Information
For further information, refer to the following articles:
- What is Community BI?
- CommunityBI Reports – view a report
- CommunityBI Reports – searching for a report
- CommunityBI Reports – saving a report search
- CommunityBI Reports – edit report permissions
- CommunityBI Reports – edit report purpose
- CommunityBI Reports – change a report search status
- CommunityBI Reports – creating report search category
- CommunityBI Reports – exporting a report
- CommunityBI Reports – report view filtering