Smaller, floating windows shown on the main screen are called Dashlets.
Dashlets can be edited to alter how they display information.
Instructions
Step 1. Log into your CRM database (refer to Logging On for further information).
Your homepage is displayed with your current dashlets.
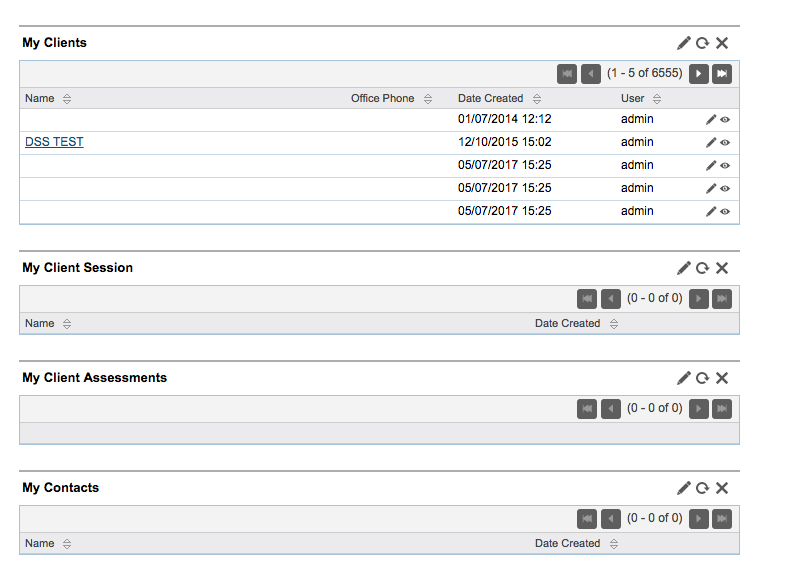
Step 2. To edit the dashlet
click on the pencil (edit) icon on the top right of the dashlet pane.

Edit options will be displayed.

You can choose to change the title, change the number of display rows or filter the items displayed.
Step 3. To add an additional column to the dashlet
highlight the column and click the left arrow.
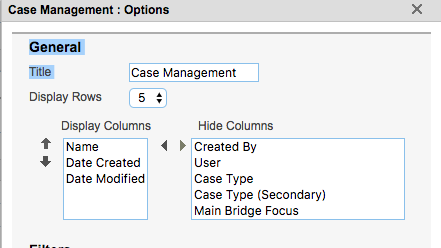
The column Date Modified is added to the Case Management dashlet.
Step 4. Click Save

The new column has been added.
Further Information
For further information on Dashlets, refer to the following articles: