Documents connected to a client’s history, or to specific interactions with a client, can be uploaded against specific clients, contacts or services.
The Documents sub-panel is available in a number of different locations, dependent on the configuration of your database.
Instructions
Step 1. Log into your CRM database (refer to Logging On for further information).
Step 2. Navigate to the required section of the database (e.g. Client, Case, Session)
Step 3. Find the record you wish to upload the document to.
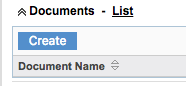
Step 4. Scroll to the Documents sub-panel

Step 5. Click Create
Step 6. Enter the required information:
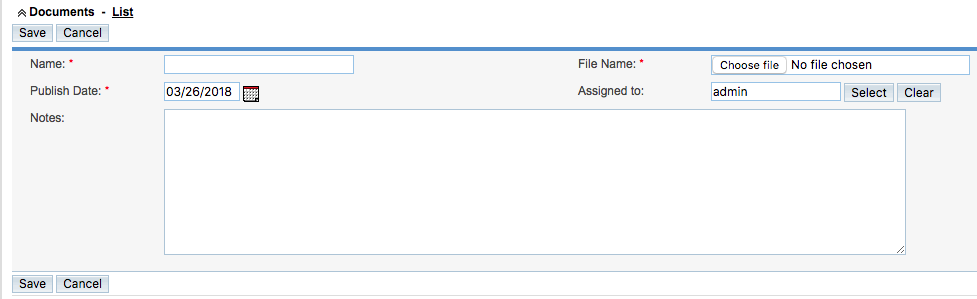
- Name
- File Name
- Publish Date (set to current date by default)
- Notes (if required)
- Assigned to (defaults to current user)
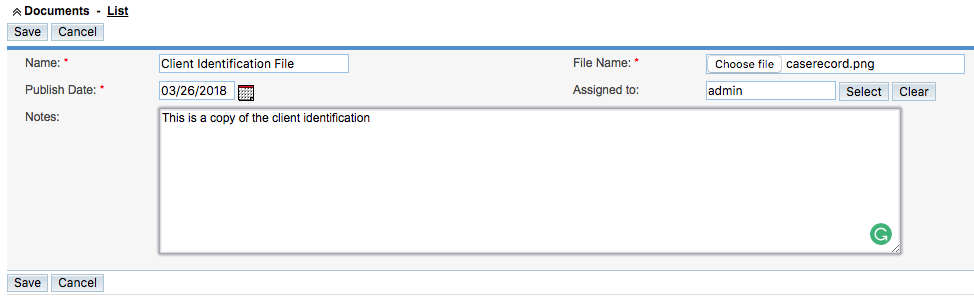
Click Save
Tip: Fields with a red asterisk are mandatory.
Step 7. To view the file, click on the document record

The document record is displayed

Step 8. Click on the File Name

Step 9. The document is displayed or downloaded, dependent on the file type and your browser configuration.
Further Information
For further information on record documents – refer to the following articles