The History sub-panel allows you add general notes and documents related to your client’s case history.
Instructions
Step 1. Log into your CRM database (refer to Logging On for further information).
Step 2. Search for the required Client.
If the client you need does not exist in your database, create a new client.
Step 3. Open the Client record
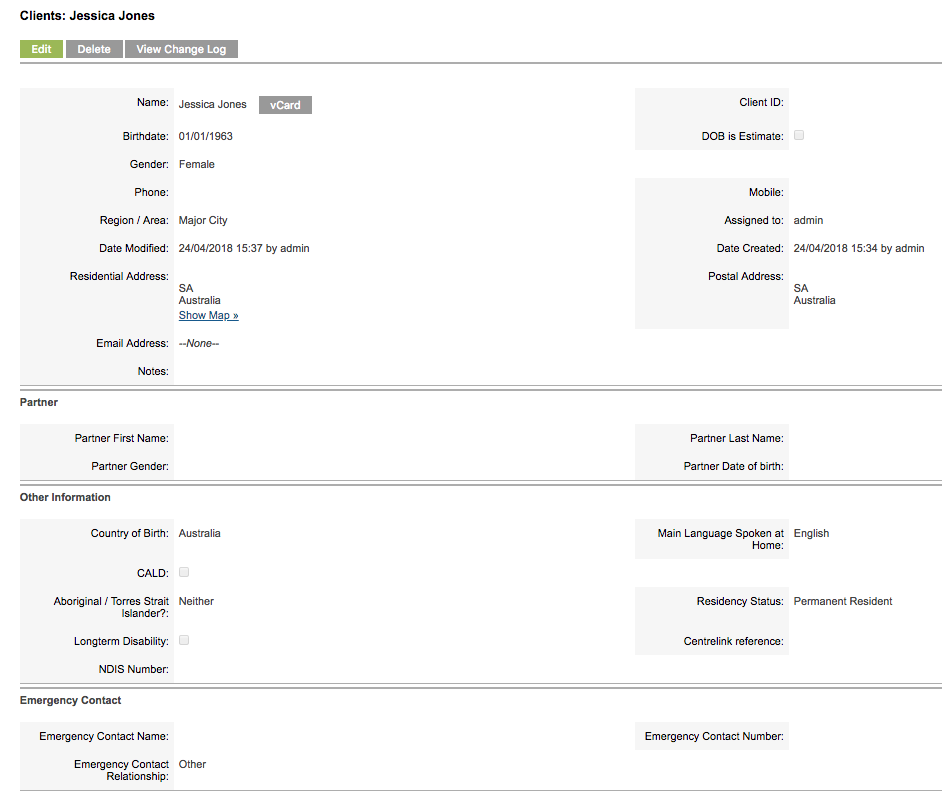
Step 4. Scroll to the History Sub-panel

Step 5. Click Create Note or Attachment
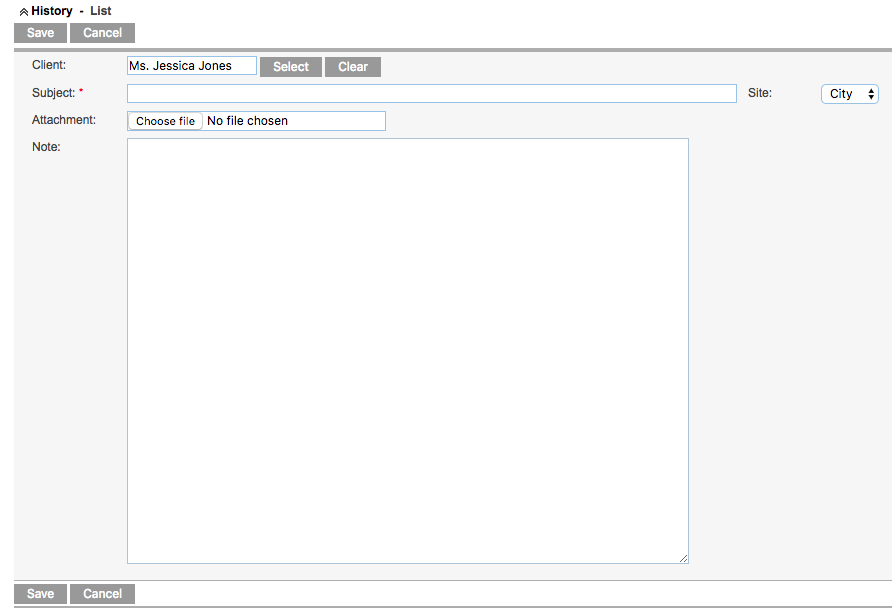
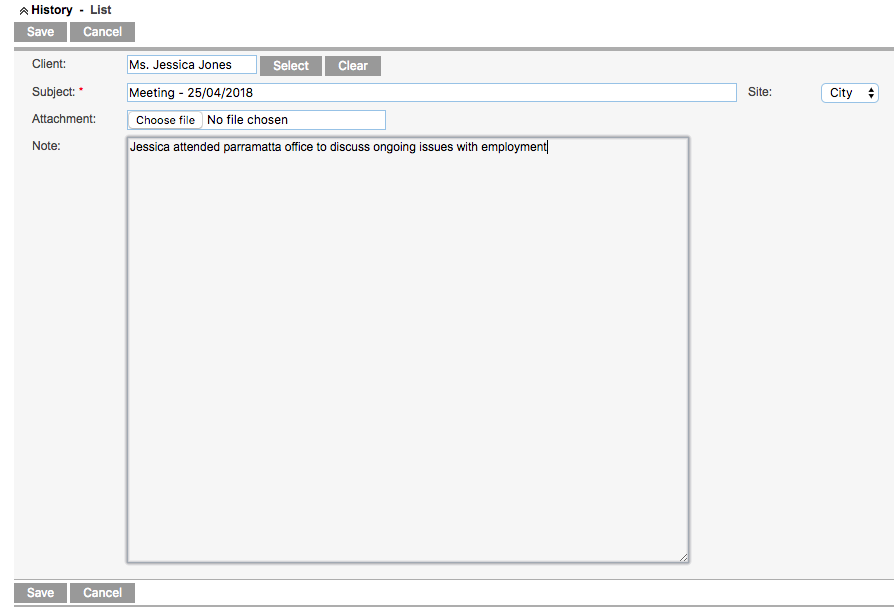
Step 6. Enter a subject and notes
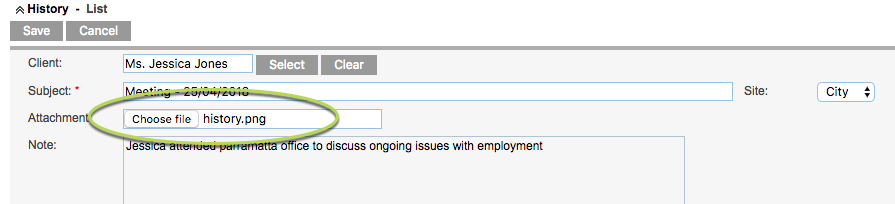
Step 7. If required, click Choose file in the Attachment field
Find the required file on your computer
Step 8. Click save to save the record
The record is saved and appears in the History List for the Client

Step 9. Click the Subject link to review the record
The saved note is displayed.
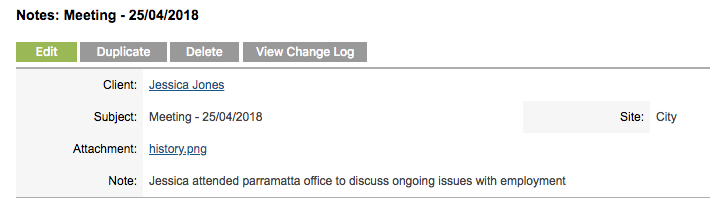
To Edit or add details to the note, click the edit button and update as required.
To view the attachment, click the attachment name link.
Further Information
For further information, refer to the following articles: