Sessions can be created for a number of different activities in your database. The Session may be related to Financial Counselling, Case Management and Community Education, among others.
The Sessions sub-panel is available in a number of different locations, dependent on the configuration of your database.
Instructions
Step 1. Log into your CRM database (refer to Logging On for further information).
Step 2. Navigate to the required section of the database (e.g. Financial Counselling, Case, Community Education)
Step 3. Find the record you wish to create a session for.
Step 4. Scroll to the Sessions sub-panel

Step 5. Click Create
The session information page is displayed
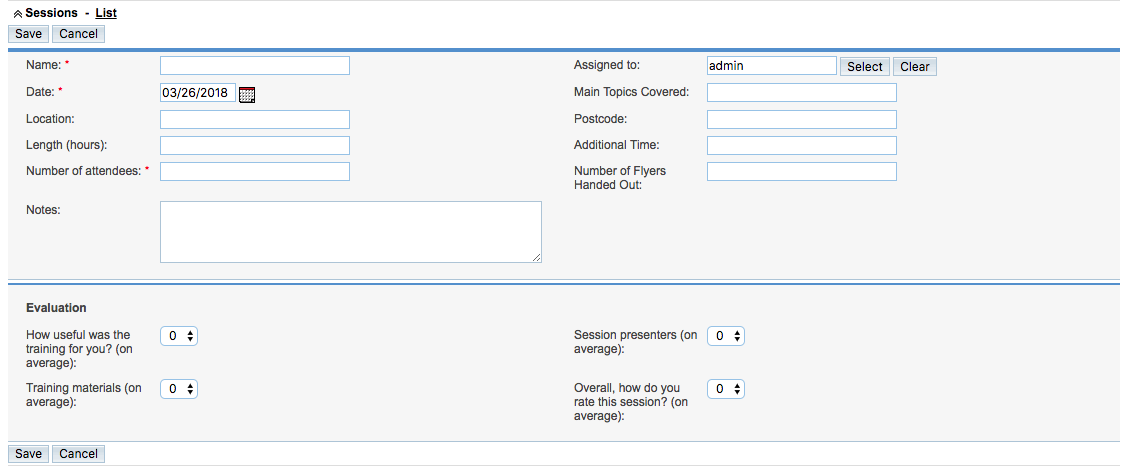
Step 6. Enter the required session information
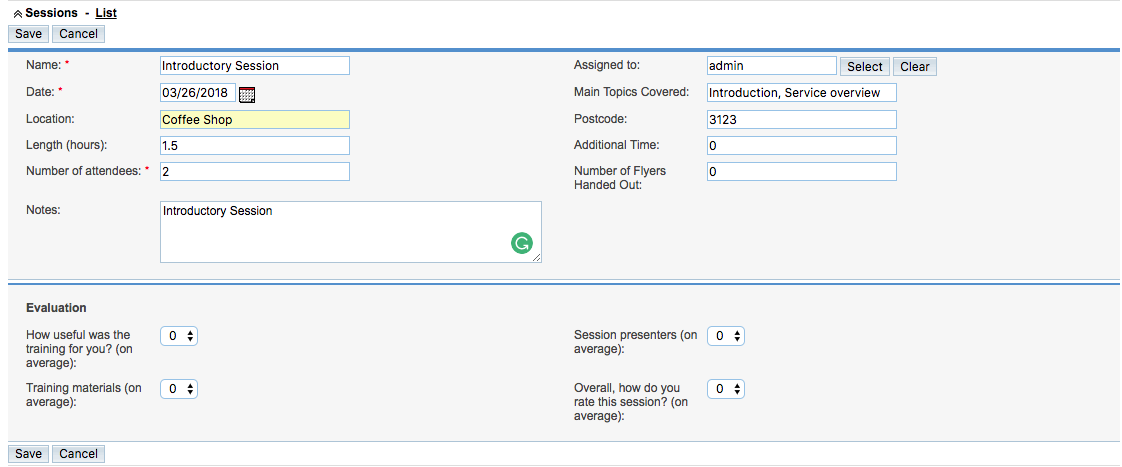
Tip: Fields with a red asterisk are mandatory.
Different fields will be available for different modules.
Click Save
Tip: If you are creating the session record prior to the
session happening, leave the Evaluation section.
This must be completed once the session has run.
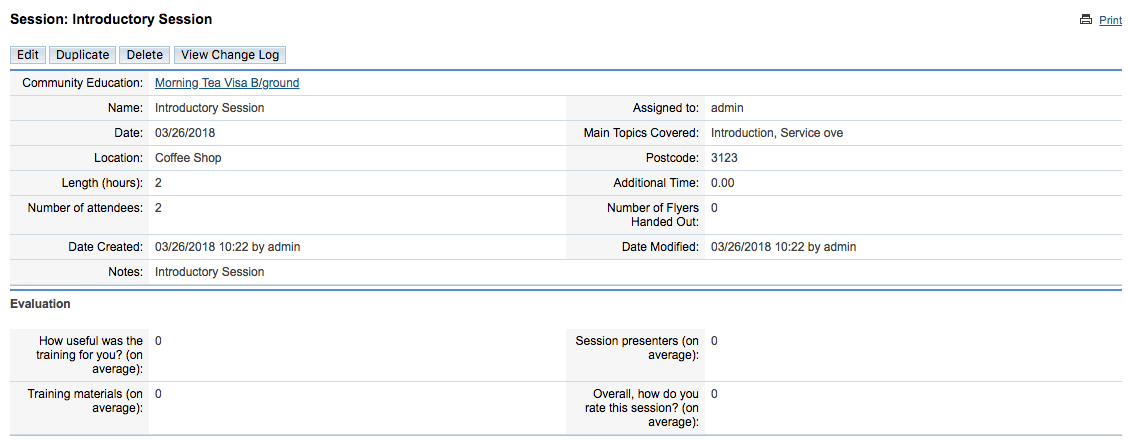
Step 7. To view the session, click on the session name in the Sessions list

The saved session detail is displayed.
Now that the session has been saved, you may wish to attach further information to it. The type of session (Community Education or Individual) will change the available sub-panels for a session.
Further Information
For information on recording attendance information, refer to
Refer to the Add a Document article for information on adding a document to your session.