The CRM database Case Management functionality is tailored to each organisation. Your Case Management pages may have a slightly different appearance.
When a client enters a case management service, a new case is created.
Instructions
Step 1. Log into your CRM database (refer to Logging On for further information).
Step 2. Find the record for the required Client.
If the client does not exist in your database, add a client record.
Step 3. Scroll to the Cases section of the Client record.

Step 4. Check for any current cases
Step 5. Click Create

Step 6. Enter the required information for the Case record
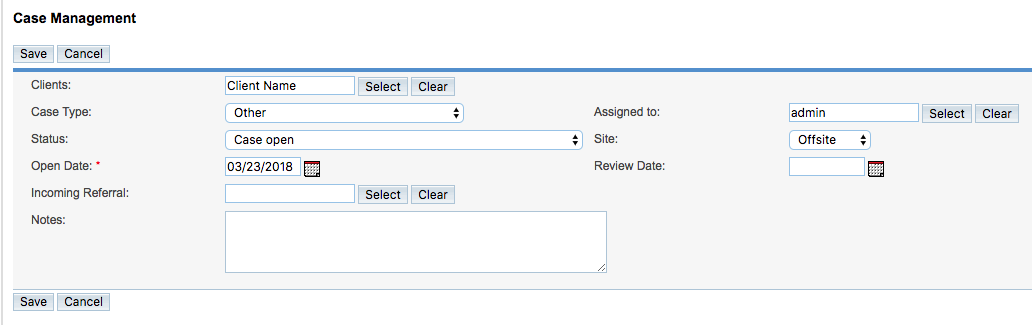
- Clients – automatically added
- Case Type – select from the drop-down list
- Status – select from the drop-down list (generally will be ‘open’ for a new case)
- Open Date – defaults to the current date
- Incoming Referral – if the Client has been referred from another service or agency, click Select to view a list of options
- Notes – enter any required notes explaining the case
- Assigned to – select from the drop-down list, defaults to the current user
- Site – select from the drop-down list, defaults to the logged in site
- Review Date – click on the calendar icon to select a date for review
Tip: Fields with a red asterisk are mandatory.
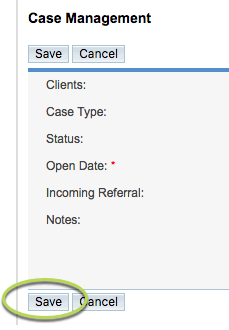
Click Save to open the case
Step 7. Review the Cases list in the Client record

The new case is added
Step 8. Click on the Case name to open the case

The information entered previously is displayed
The additional sub-panels are displayed:
- Close/Exit
- Outgoing Referrals
- Documents
- Case Sessions
Further Information
For further information, refer to the following articles: