If a Planned Support Activity has been delivered and finalised through the scheduling process, the status may automatically be set to delivered.
If the actual start and/or end time of the activity is different to the planned times, you may need to update the original activity record.
Updating the times will ensure any claiming or invoicing has the correct time allocated.
Instructions
Step 1. Log into your CRM database (refer to Logging On for further information).
Step 2. Search for the required NDIS Client.
Step 3. View the Client record
Step 4. Scroll to the NDIS Support Plan sub-panel.

Step 5. Select the required NDIS Support Plan
The NDIS Support Plan page is displayed
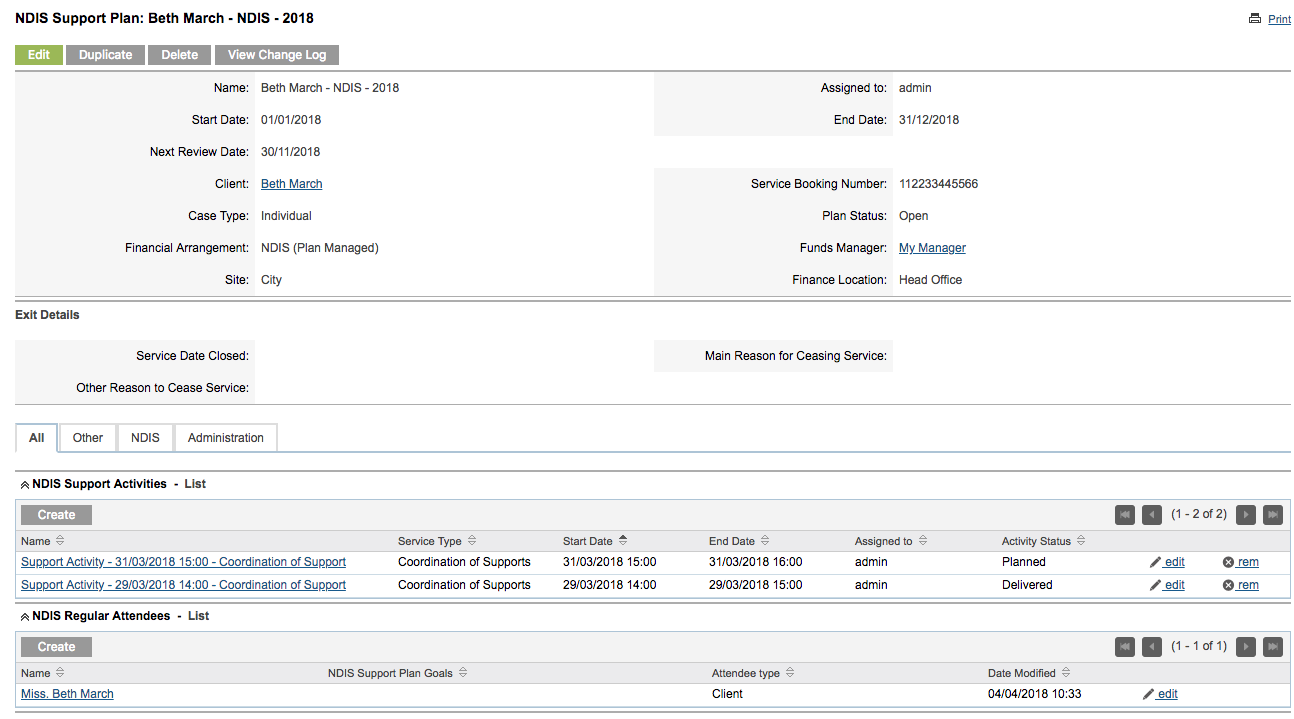
Step 6. Scroll to the NDIS Support Activities sub-panel

Step 7. Select the required Activity – it may already be set to Delivered.
Step 8. Click Edit
Update the information as required.
Ensure Activity Status is Delivered.
Click Save
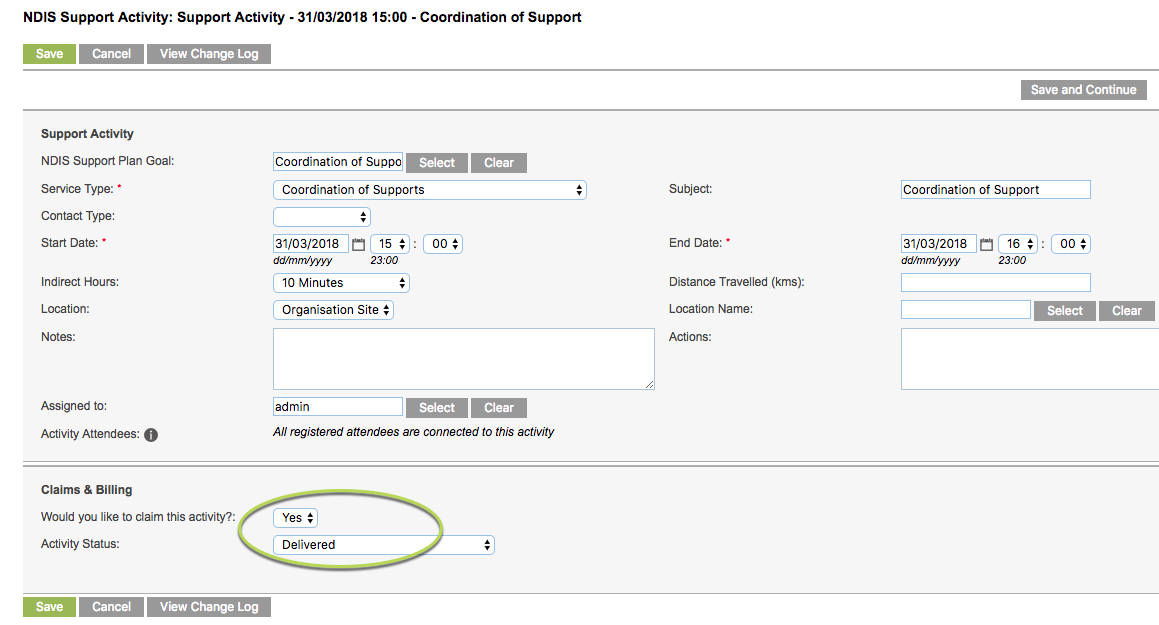
The NDIS Session Attendance & Claims window is displayed
Note - if you try to edit a Delivered Activity that has already been claimed through PRODA, you will receive a warning message.
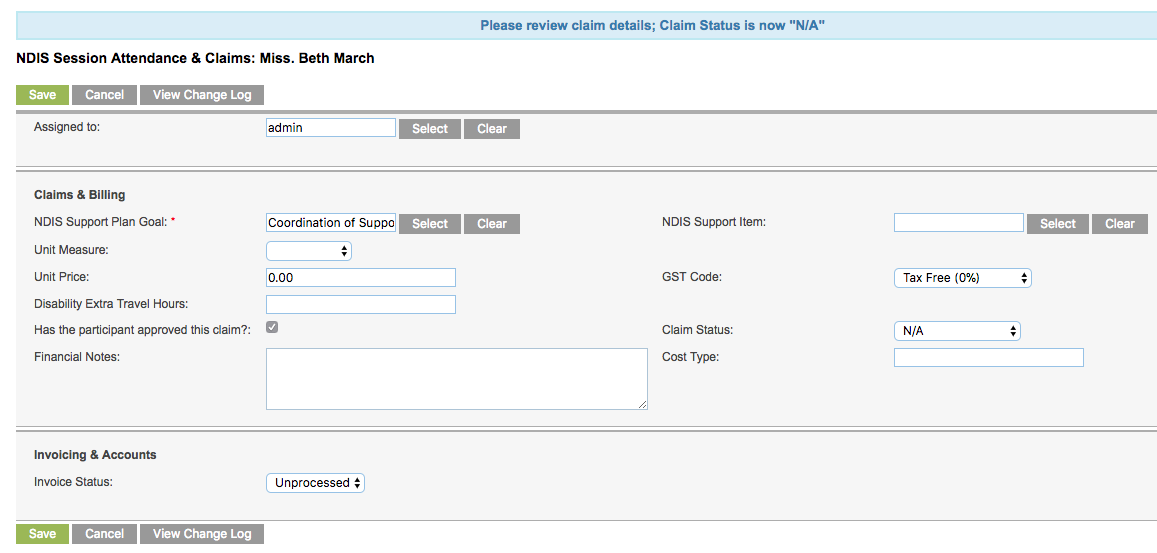
Step 9. Click Select on NDIS Support Item:
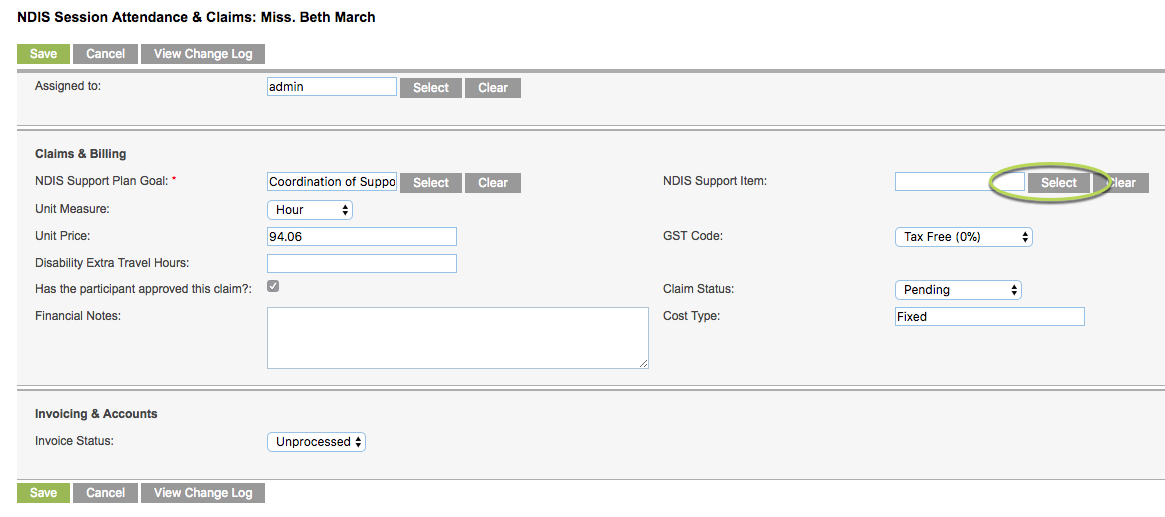
Step 10. Select the required Item from the NDIS Support Item window
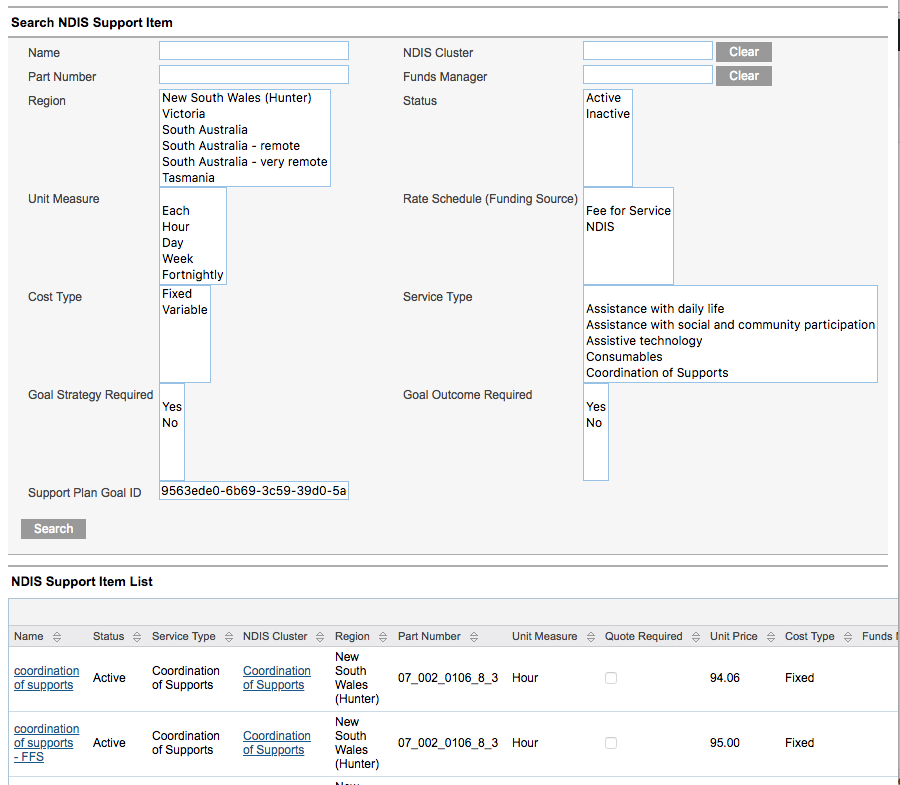
The Item is selected and populates the NDIS Support Item field.
Step 11. Enter any additional information e.g. Financial Notes
Step 12. Click Save
The Claim has been created and is set to Pending.

The activity/claim can now be included in the claiming/invoicing process.
Next Steps
Further Instructions
For further information, refer to the following articles: