The National Disability Insurance Scheme functionality has been designed to keep track of NDIS data for clients and assist in reporting this data to the NDIA portal.
The first step in recording NDIS activities is creating a Support Plan.
A support plan mirrors the plan provided to the client by the NDIA. It will include what services your agency will provide (Service Bookings) and the budget for these services.
Instructions
Step 1. Log into your CRM database (refer to Logging On for further information).
Step 2. Search for the required NDIS Client.
If the client you need does not exist in your database, continue with the creation of a new client, ensuring the Client’s NDIS number is captured.
Step 3. View the Client record
Step 4. Scroll to the bottom of the page to the NDIS Support Plan sub-panel.

Step 5. Click Create

The Support Plan edit pane is displayed.
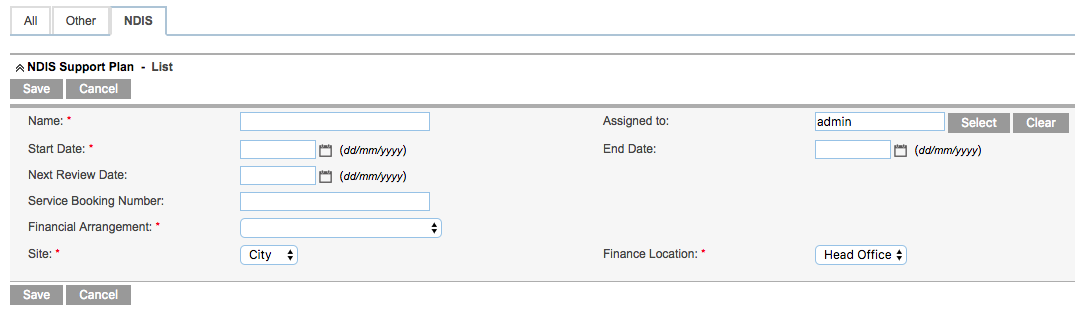
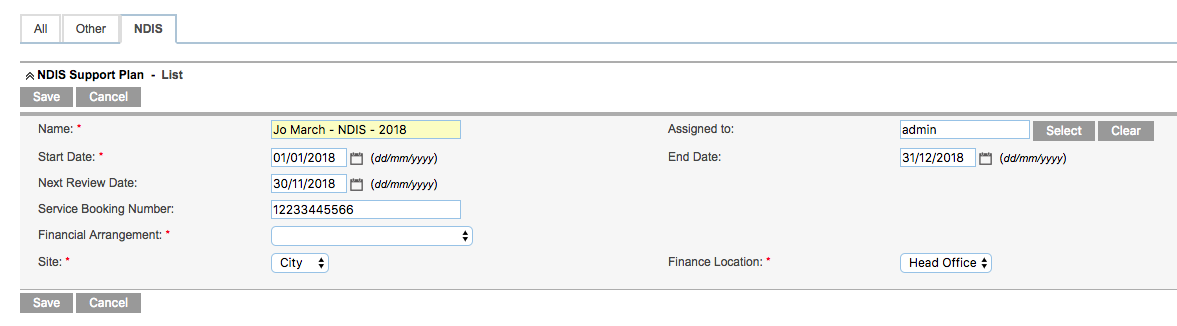
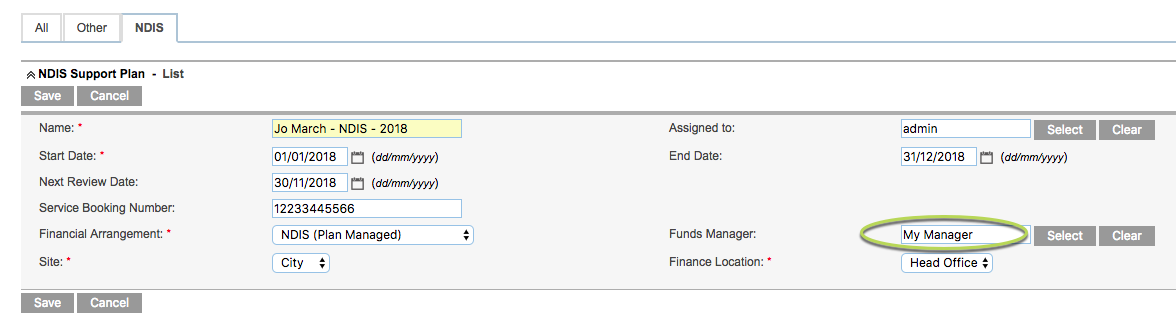
Step 6. Enter the required information for the Support Plan
- Name:
- Name of the Support Plan
- Recommended: <First name> – <Last name> <Funding Body> – <Year> e.g. Beth March -NDIS-2018
- Assigned to:
- defaults to current user
- Start Date:
- Start date of plan
- Recommended: Start Date of client’s NDIA service booking
- End Date:
- End date of plan
- Recommended: End Date of Client’s NDIS service booking
- Review Date:
- Review date of plan
- Recommended: One month before end date of plan
- Service Booking Number:
- Client’s NDIA Service Booking number
- Financial Arrangement:
- Select funding source and management type
- Site:
- Select the organisation site responsible for the support plan
- Finance Location:
- Select the organisation site responsible for invoicing
Tip: If this is an NDIS funded Support Plan,
ensure you enter the correct Service Booking Number.
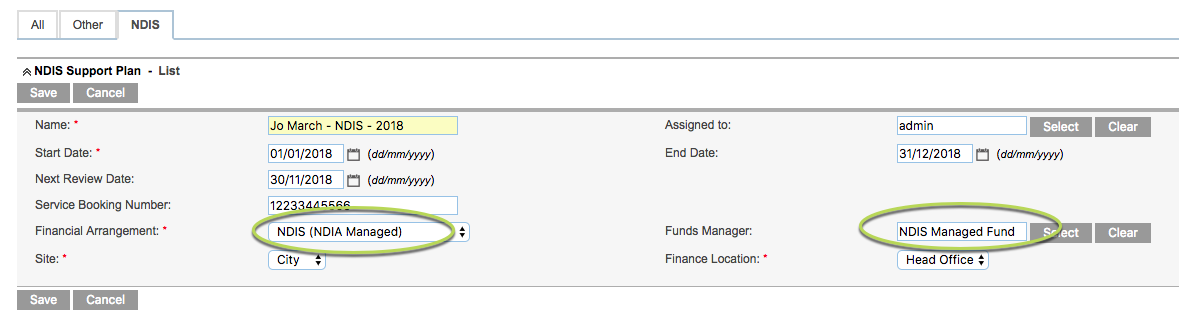
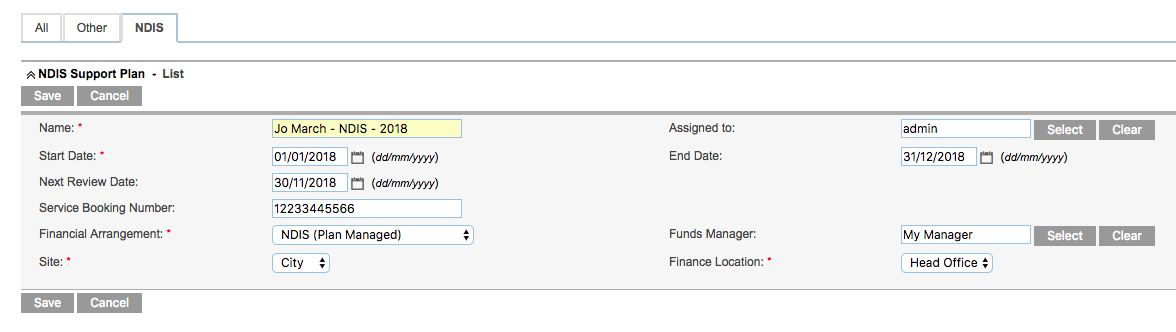
Step 7. If an NDIA or Plan Managed option is selected for the Financial Arrangement field, you may need to select a Funds Manager:
Tip: If you select NDIS (NDIA Managed) the Funds
Manager field will be populated with
NDIA Managed Fund.
If you need to change the Funds Manager, click on the Select button next to the Funds Manager field
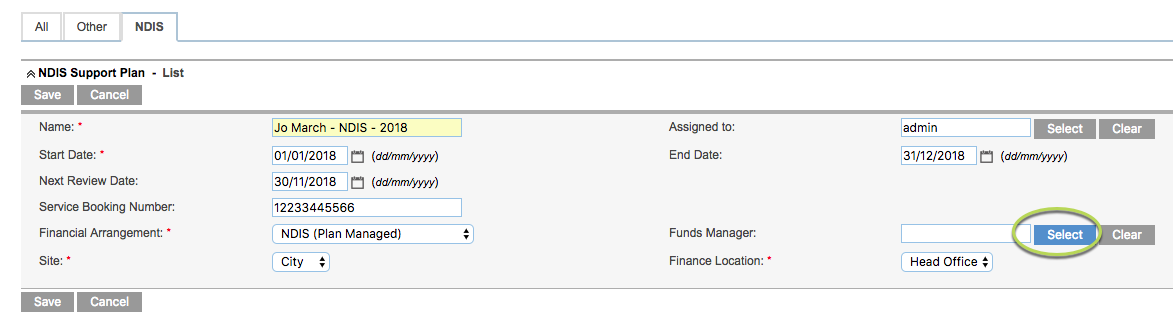
The Search Contacts window is displayed
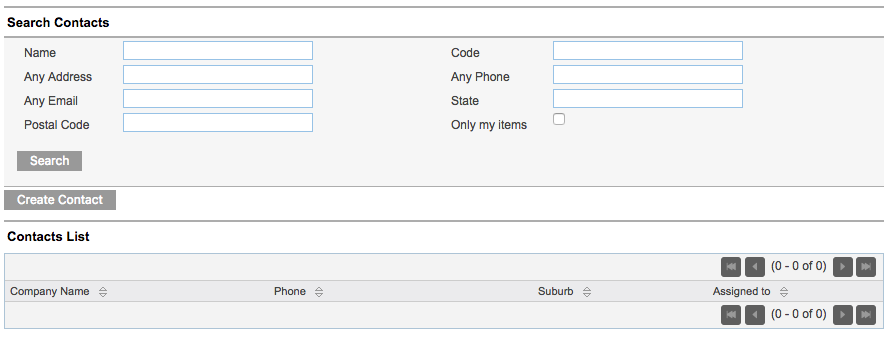
Step 8. Enter search criteria for the required funds manager.
Step 9. Click Search
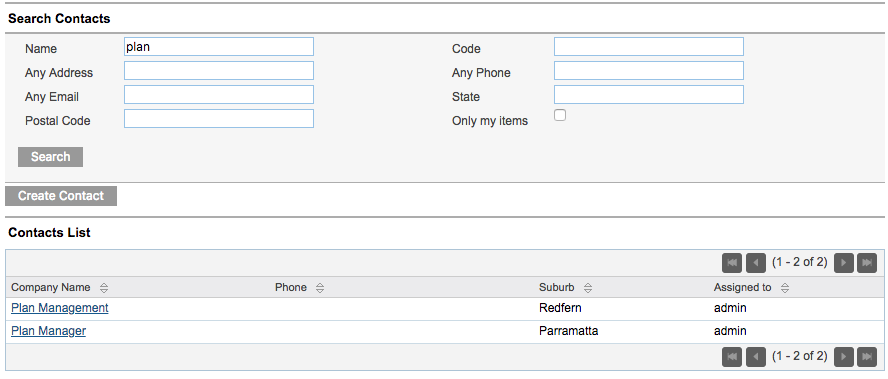
Step 10. Click on the contact name to select the manager
Step 11. If the required manager is not returned, click Create Contact to add a new contact to the database.
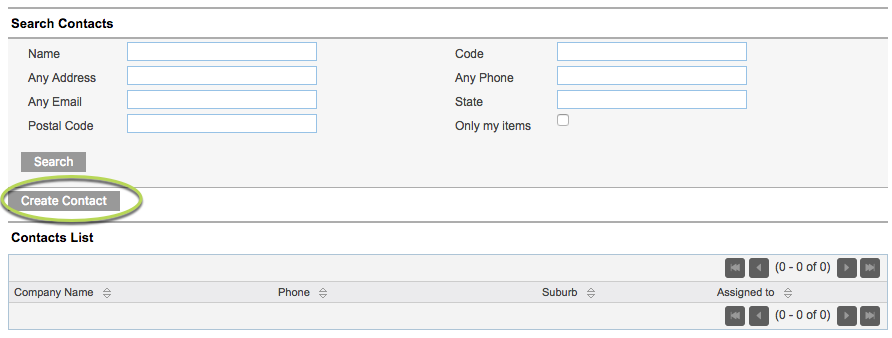
The Create Contact pane is displayed

Step 12. Enter the contact information

Step 13. Click Save
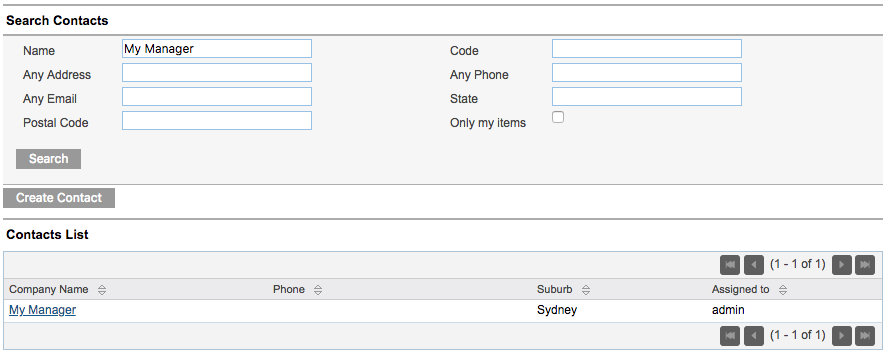
The Contact is displayed
Step 14. Click on the contact name to select the manager
The selected manager is added to the plan.
Step 15. Ensure all required information is added
Step 16. Click Save

The plan is saved and listed in the NDIS Support Plan sub-panel
Next Steps
Further Information
For further information, refer to the following articles: