The CRM database Settlement Services functionality is tailored to each organisation. Your Settlement Services pages may have a slightly different appearance.
When a client enters a Settlement service, a new case is created.
Instructions
Step 1. Log into your CRM database (refer to Logging On for further information).
Step 2. Find the record for the required Client.
If the client does not exist in your database, add a client record.
Step 3. Scroll to the Settlement Services section of the Client record.

Step 4. Check for any current cases
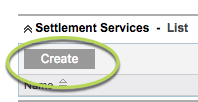
Step 5. Click Create
Step 6. Enter the required information for the Settlement Services record
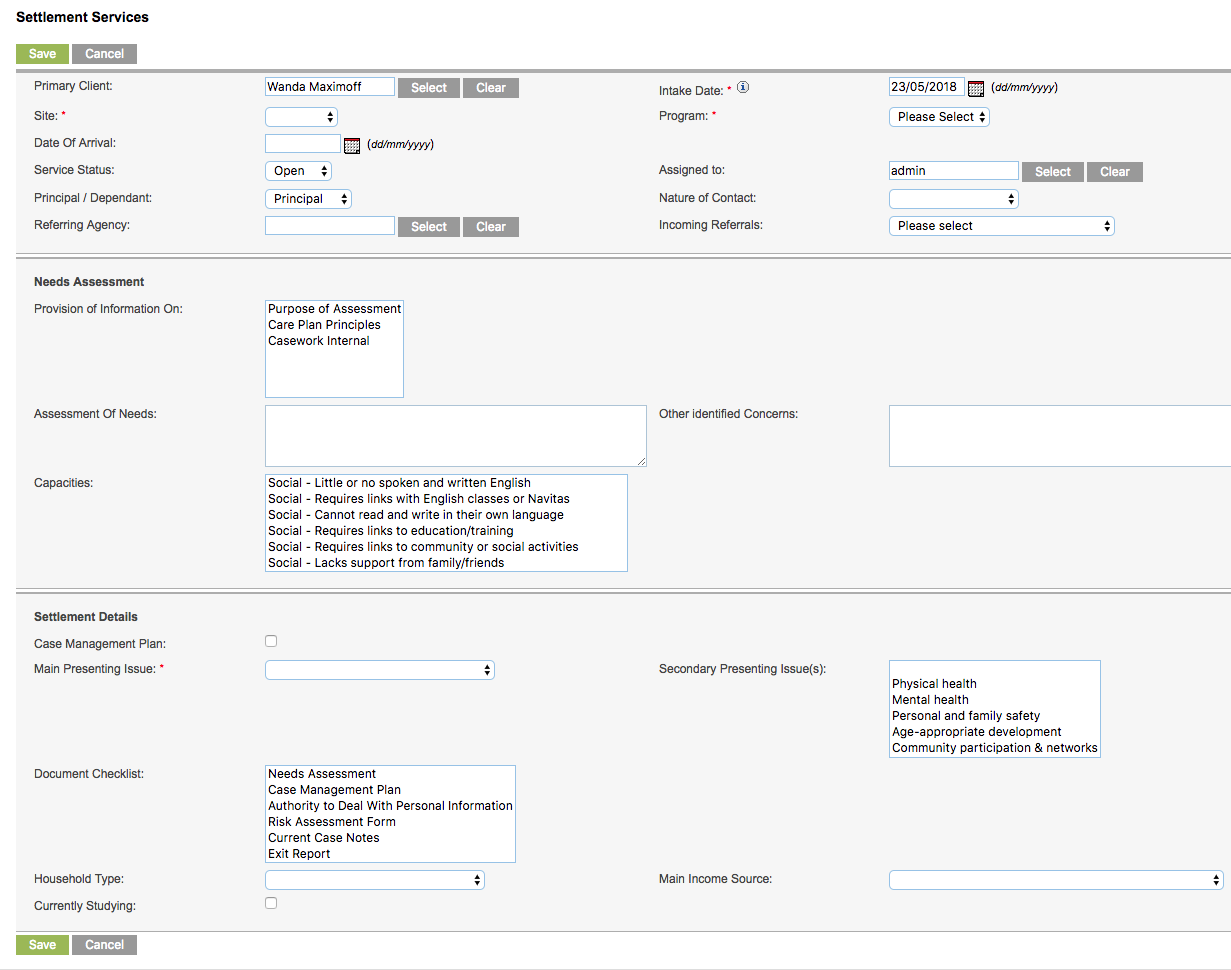
Client Information
- Primary Client – automatically added
- Intake Date – defaults to the current date
- Site – select from the drop-down list, defaults to the logged in site
- Program – select from the drop-down list of available programs
- Date of Arrival – select from the calendar or enter the date of arrival to Australia
- Service Status – select from the drop-down list (generally will be ‘open’ for a new case)
- Assigned to – select from the drop-down list, defaults to the current user
- Principal/Dependent – Select whether the client is the principal or dependent in the family
- Nature of Contact – Select from the drop down list whether this is a once-off contact or ongoing
- Referring Agency – if the Client has been referred from another service or agency, click Select to view a list of options
- Incoming Referrals – Select from the drop-down list
Needs Assessment
- Provision of Information on – select from the list as required
- Assessment of Needs – enter details of client needs
- Other Identified Concerns – enter any other concerns
- Capacities – select from the list as required
Settlement Details
- Case Management Plan – Click the checkbox if a Management Plan is required
- Main Presenting Issue – Select from the drop-down list
- Secondary presenting issue(s) – Select any secondary issues
- Document Checklist – Select the required documents
- Household Type – Select from the drop-down list
- Main Income Source – Select from the drop-down list
- Currently Studying – Click the checkbox if the client is studying
Tip: Fields with a red asterisk are mandatory.
Click Save to open the case
Step 7. Review the Settlement Services list in the Client record

The new case is displayed
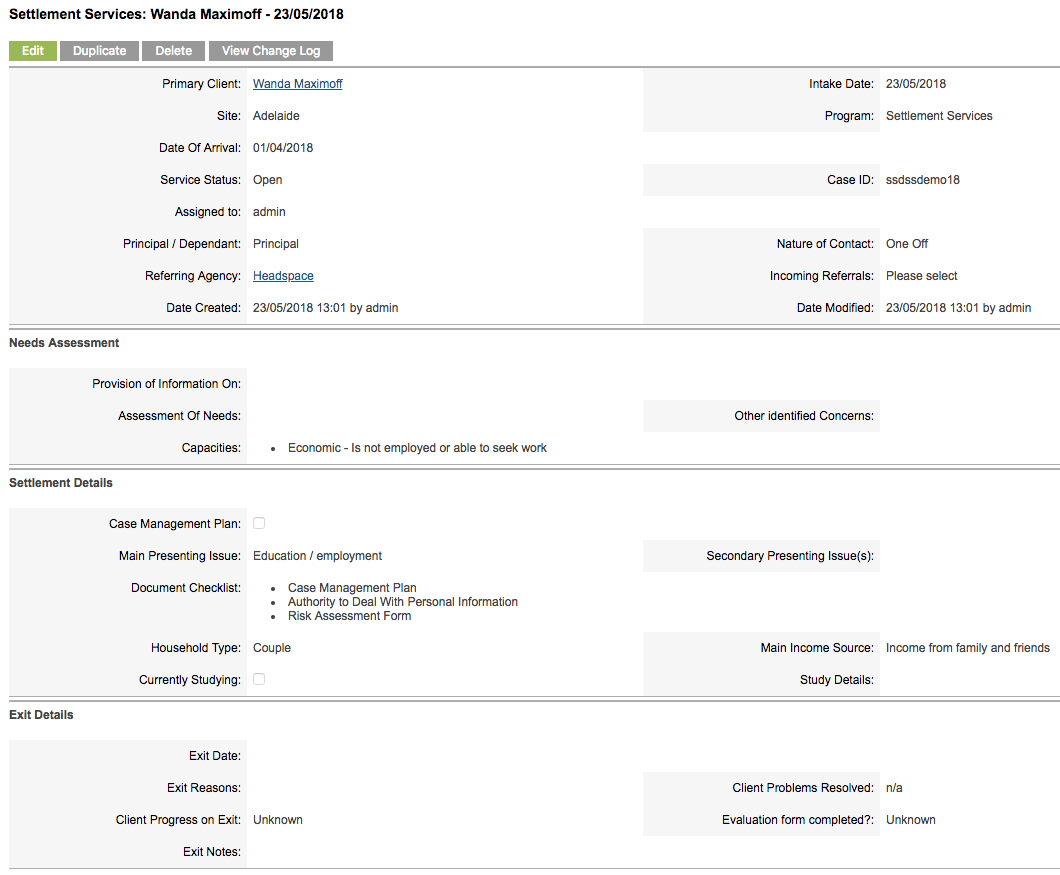
Step 8. Click on the Case name to open the case
The information entered previously is displayed
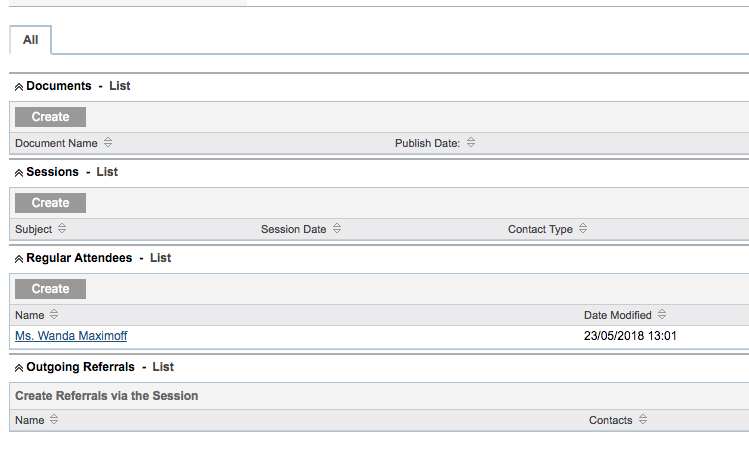
The additional sub-panels are displayed:
- Documents – use to save settlement services related documents
- Sessions – use to record settlement services sessions
- Regular Attendees – use to add additional regular attendees
- Outgoing Referrals – displays a list of referrals created within sessions
Further Information
For further information, refer to the following articles:
- Settlement Services Overview
- Create a Settlement Services Session
- Settlement Services – Statistics Report
- Add a Document
- Session Attendance – Named Attendee
- Create a Referral