The CHSP module allows managing of services to assist frail older people aged 65 years and over (50 years and over for Aboriginal and Torres Strait Islander people) and who have functional limitations (including cognitive), to remain living independently at home and in their community.
Group Cases allow you to manage group activities/sessions under a single case.
The CRM database CHSP functionality is tailored to each organisation. Your CHSP pages may have a slightly different appearance.
Instructions
Step 1. Log into your CRM database (refer to Logging On for further information).
Step 2. Search the database to ensure required Client records exist.
If the required clients do not exist in your database, add a client record.
Tip: Clients can be added to a group case at a later time if required.
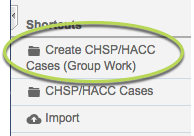
Step 3. Select CHSP/HACC Cases from the top menu
Step 4. Click the Create Create CHSP/HACC Cases (Group Work) shortcut
Step 5. Enter the required Group Case details
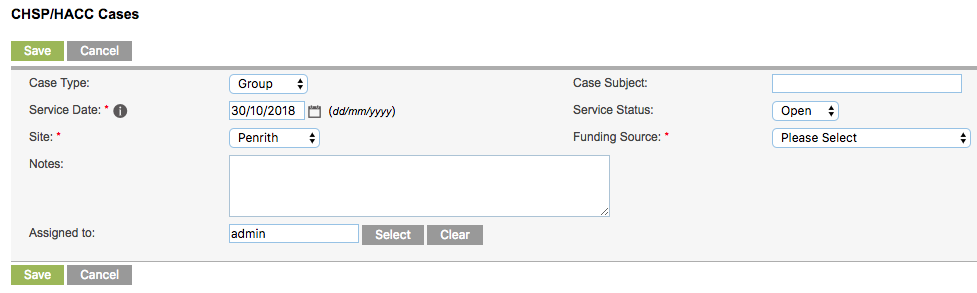
- Case Type
- Defaults to Group. If an individual case is required, refer to the Create a CHSP Case Article.
- Case Subject
- Enter a subject for the Group case
- Service Date
- Defaults to the current date, click on the calendar to change if required.
- Service Status
- Defaults to Open, select another status from the drop-down list if required.
- Site
- Defaults to the user’s site. Other available sites can be selected from the drop-down list.
- Funding Source
- Once the site has been selected, available funding sources can be selected from the drop-down list
- Notes
- Enter any required notes related to the case
- Assigned to
- Defaults to current user, another user can be selected if required
Tip: Fields with a red asterisk are mandatory.
Step 6. Click Save
The Group Case is saved and the CHSP Group Case Subpanels are displayed

Before services can be recorded for a group case, regular attendees must be added.
Step 7. Click Create on the CHSP/HACC Regular Attendees subpanel

Step 8. Enter the details for the regular attendee
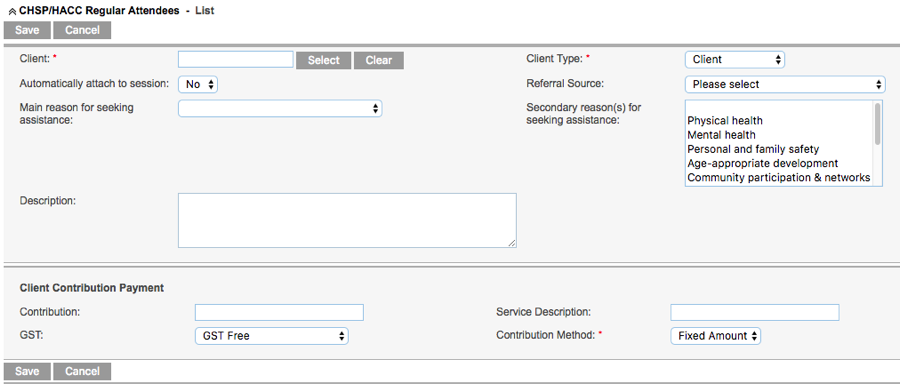
- Client
- You can type the first few letters of the client name into the field and select from the returned options, OR click select and search for the client.
- Client Type
- Select from the drop-down list. The selected option will determine if the attendee is reported to DSS.
- Automatically attach to session
- Defaults to No. This allows you to select which regular attendees actually attended particular sessions. Selecting Yes will always attach the client to every session.
- Referral Source
- Select from the drop-down list
- Main reason for seeking assistance
- Select from the drop-down list
- Secondary reason(s) for seeking assistance
- Select one or more options from the multi-select list
- Description
- Enter any required information in relation to the attendee
Client Contribution Payment
If this regular attendee will be contributing to the cost of the session/service, these details must be completed.
- Contribution
- Enter the amount the attendee will contribute
- Service Description
- Enter a description of the service to appear on the client’s invoice
- GST
- Select the GST category of the service
- Contribution Method
- Select whether the contribution is a fixed amount or hourly rate
Tip: Payment information must be captured in the Client record for Client Contribution Payments
to be created.
Step 9. Click Save
The Regular attendee record is displayed in the Regular Attendees subpanel for the group case.

Step 10. Repeat steps 7-9 for all required Regular Attendees.
Next Steps
Once a case has been saved, the following steps are available:
Further Information
For more information relating to Family Support, refer to the following articles: