At times you may have users leave the company, or no longer require access to the database due to a change in role.
To avoid being charged for these users, you can change their Status to Inactive. Inactive users retain their history but are no longer able to log into the system.
Instructions
Step 1. Log into your CRM database (refer to Logging On for further information).
Tip: Only users with the Manager role have access to manage
users.
Step 2. On the left-hand side of the Home screen, click the Manage Users link.
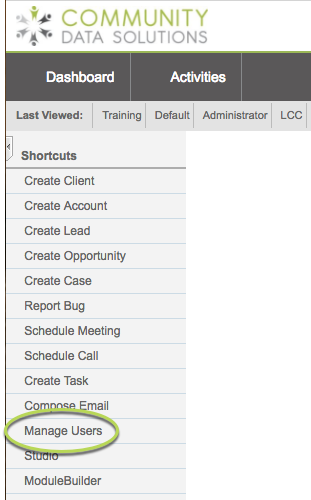
You will be taken to the Users List page – current system users will be displayed.
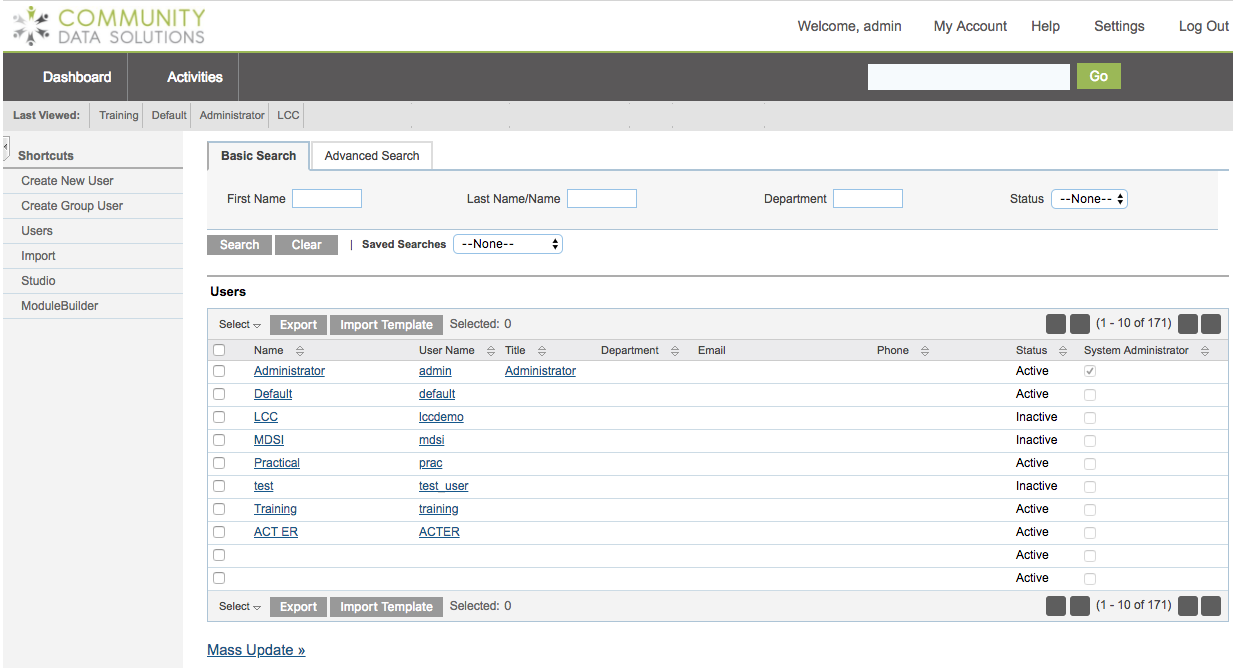
Step 3. Search for the user you wish to edit by entering their first and/or last name in the search fields
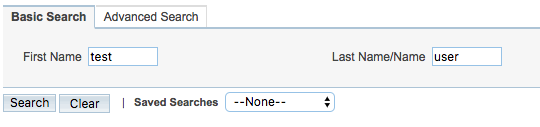
If you need to create a new user, refer to the Creating a New User article for instructions.
Step 4. Click Search
All users that meet the entered criteria are returned
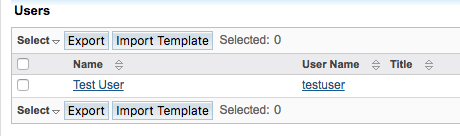
Step 5. Click the Username in the search results
The User details page is displayed
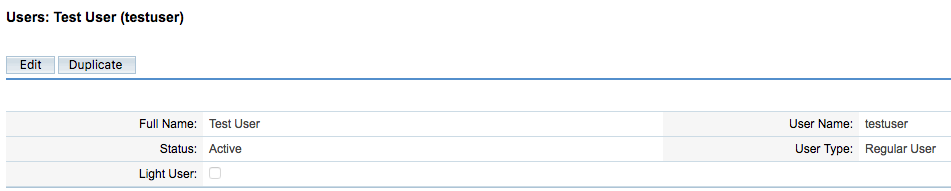
Step 6. Click Edit
The user details are displayed in edit mode
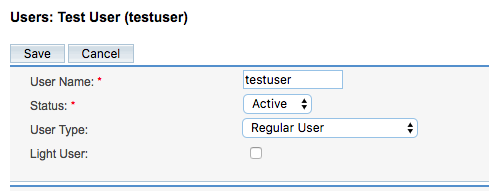
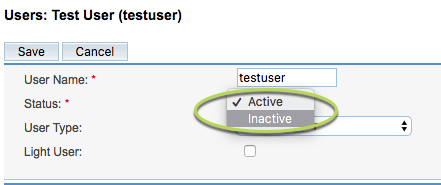
Step 7.
Click the Status drop down and select Inactive
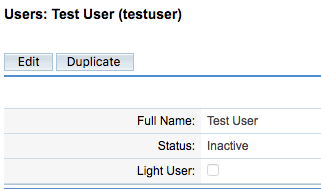
Step 8. Click Save
The settings are saved
Further Information
For more information on users, refer to the following articles: