The Community Data Solutions CRM system allows users with the manager role to manage the users of the database and their permissions.
Managers are able to:
– Edit User Permissions – restrict or provide access to features/records, deactivate users
– Reset User Password – change passwords if required
– Create New User – create new users
– Create a Light User – create light users or change a user to a light user
Instructions
Step 1. Log into your CRM database (refer to Logging On for further information).
Tip:
Only users with the Manager role have access to manage users.
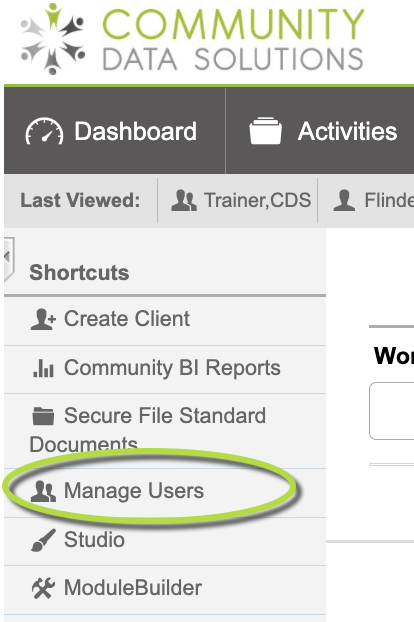
Step 2. On the left-hand side of the Home screen.
Click on the Dashboard.
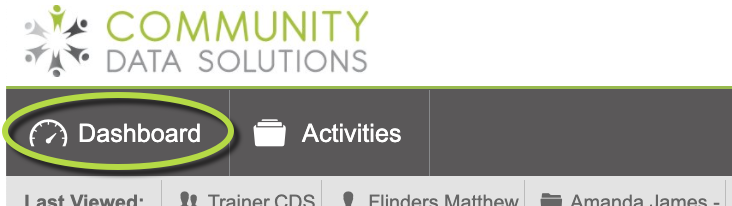
Then Click on Manage Users
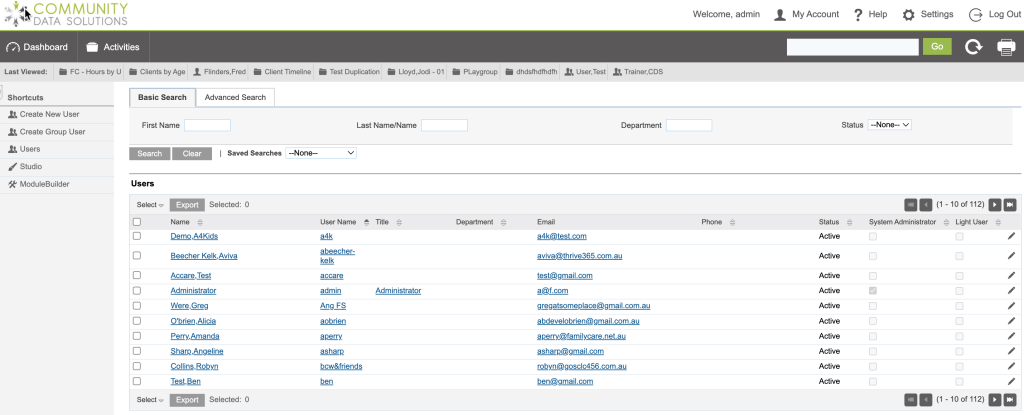
You will be taken to the Users List page – current system users will be displayed.
Step 3. You can now Search for the User you want to add a Role (permissions)
Type in the search criteria by entering their first and/or last name in the search fields.
Then Click on Search or hit enter/return on your keyboard
Tip:
Need a refresher on how to use search refer to the Search article in the Knowledge base.
Tip:
If you need to create a new user, refer to the Creating a New User article for instructions.
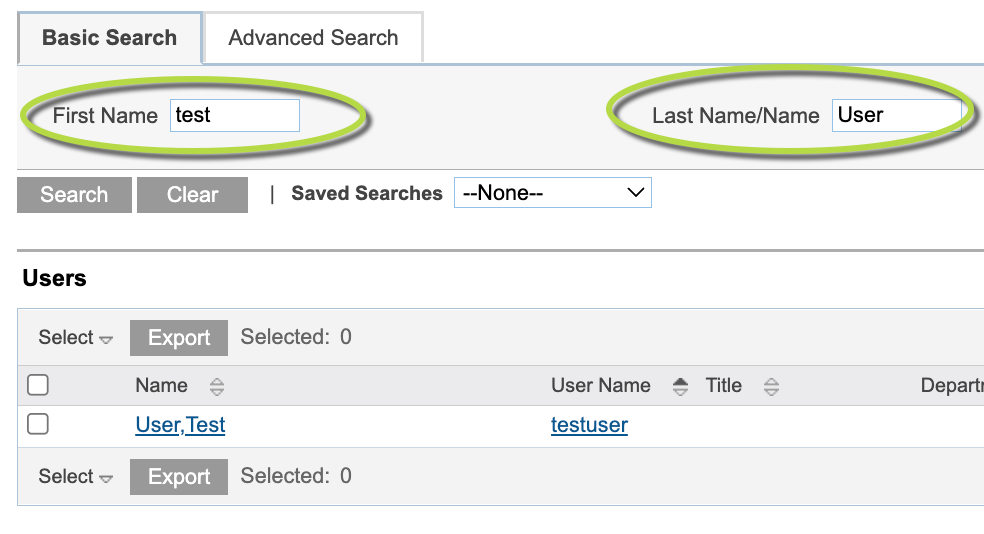
All users that meet the entered criteria are returned
Step 4. To display the User
Click on the Username in the search results

Step 5. The user is displayed. On the left in the Sub-Panel
Click on Roles
Tip:
You can also scroll down the user screen to get to roles at the bottom of the screen.

Step 6. You can now see the list of Roles the the User has.
Click on Select.
Please note: do NOT click List. You will not have access to this area.
Tip:
Every User is given the Basic role when created.  Do not remove/edit. It is required for access to the system.

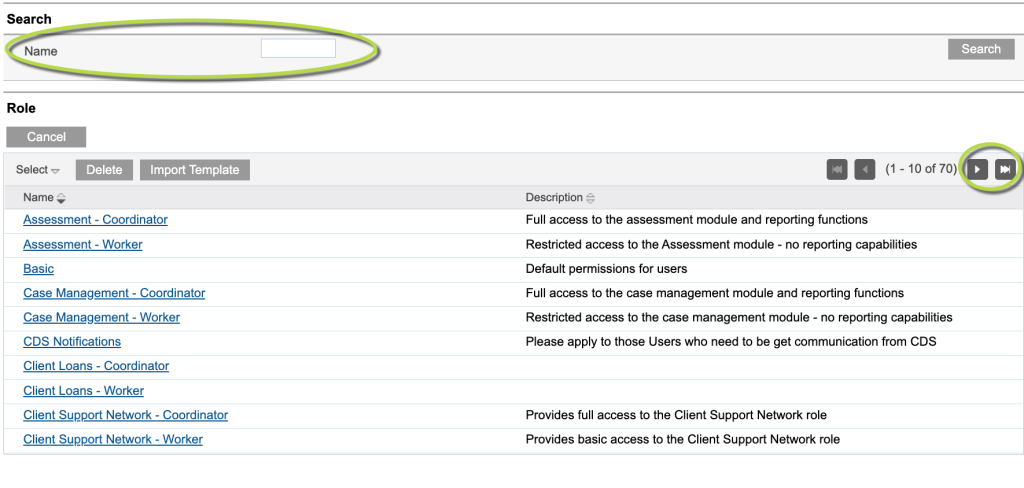
Step 7. The Roles screen will be display.
You can search by name or scroll through the Roles.
Then click on the Role you want to add to the User
Tip:
Refer to the description next to the role to determine if the role is appropriate for the user.

When adding roles (permissions) think about what to chose Coordinator or Worker
- Coordinator -> has full access to the role
- Worker -> has basic access
Step 8. You are returned to the user details page and the selected role is added to the User Roles list

Step 9. Repeat steps 6 and 7 for all required roles.