For clients with an NDIA managed plan, you will likely upload an NDIS Bulk Payment Request File.
Each payment in the file will be assessed and approved or rejected dependent on the data provided and the status of the client’s plan.
When a bulk upload file has been processed, a Results file is produced within the Provider Portal.
Instructions
Step 1. Generate the Claims Report following the instructions in the NDIS – Create Claim Report article.
Step 2. Upload the file to your myplace Provider Portal following the instructions in the NDIS – Submit Payment Request article.
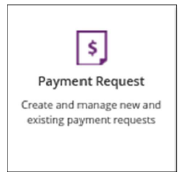
Step 3. Once the file is uploaded and processed, select the Payment Request Tile
Step 4. Select View Payment Request option
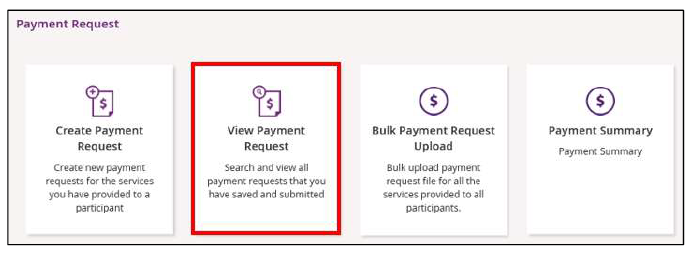
Step 5. From the search dropdown list, select Uploaded Bulk Payment file option

Step 6. If required, enter additional search criteria such as Submitted Date
Step 7. Select the file and download the attached Results file
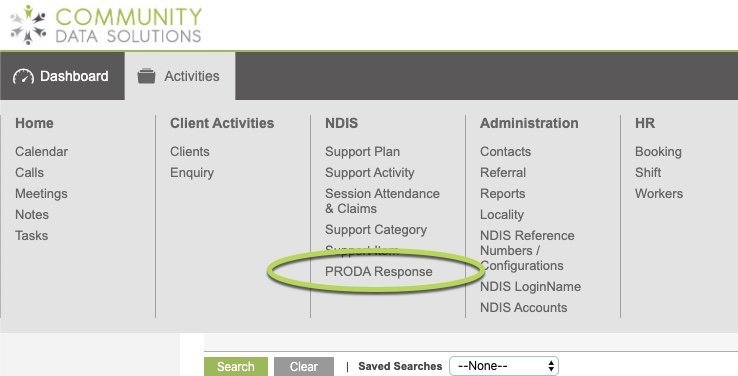
Step 8. In your Customer Database, select the PRODA Response link from the Activities menu
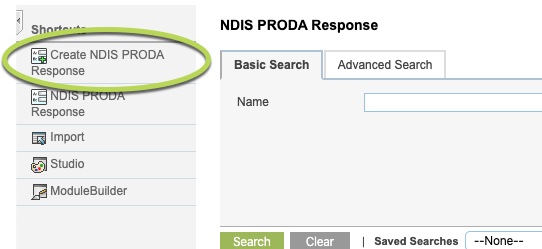
Step 9. Click the Create NDIS PRODA Response shortcut
Step 10. Click Choose file in the Response File field and select the file from your computer
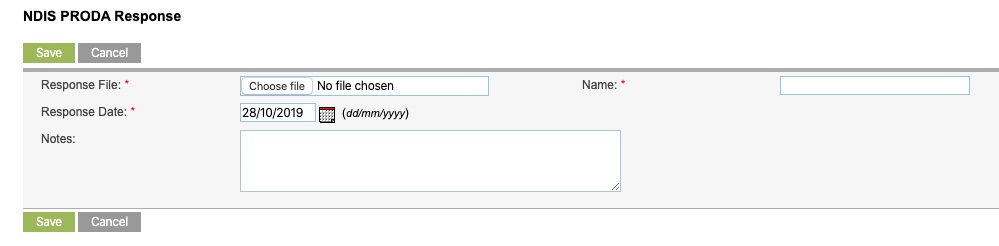
When the file has been selected, the Response file field and Name fields are populated.
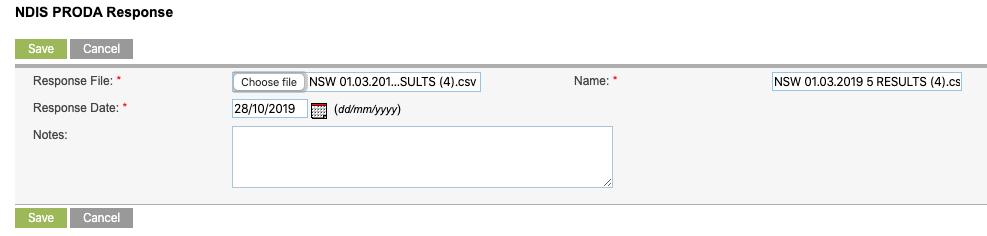
Step 11. Enter any required notes and then Click Save.
The file will be imported and the progress will display at the top of the screen
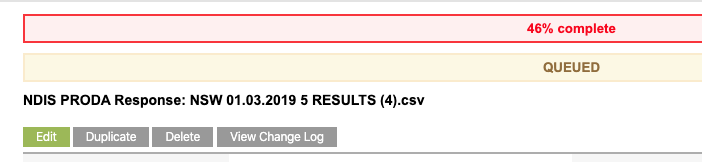

Once ‘SUCCESS’ or ‘Please reload the page’ appears at the top of the screen, the results have been imported.
A list of linked claims will appear in the NDIS Session Attendance and Claims sub-panel beneath the Response file.
A summary of the responses within the file will be listed in the Notes section.
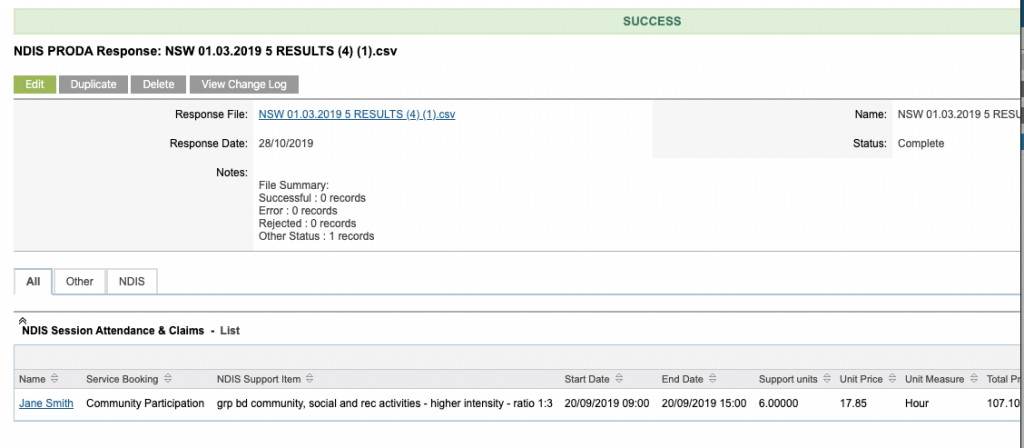
The status of the linked claims will be updated based on the response details in the file.
Further Instructions
For further information, refer to the following articles: