Once the Client’s Support Plan details have been completed, Support Activities can be recorded.
The following instructions follow the recording of a delivered support activity.
Instructions
Step 1. Log into your CRM database (refer to Logging On for further information).
Step 2. Search for the required NDIS Client.
If the client you need does not exist in your database, continue with the creation of a new client, ensuring the Client’s NDIS number is captured.
Step 3. View the Client record
Step 4. Scroll to the NDIS Support Plan sub-panel.

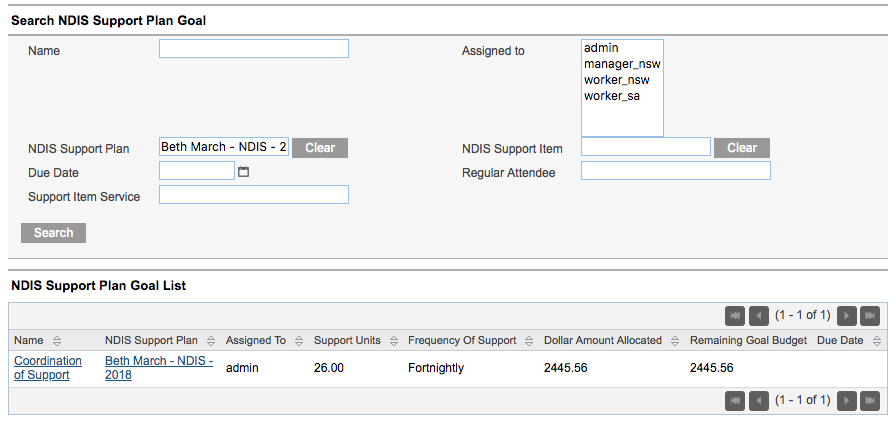
Step 5. Select the required NDIS Support Plan
The NDIS Support Plan page is displayed

Step 6. Scroll to the NDIS Support Activities sub-panel

Step 7. Click Create

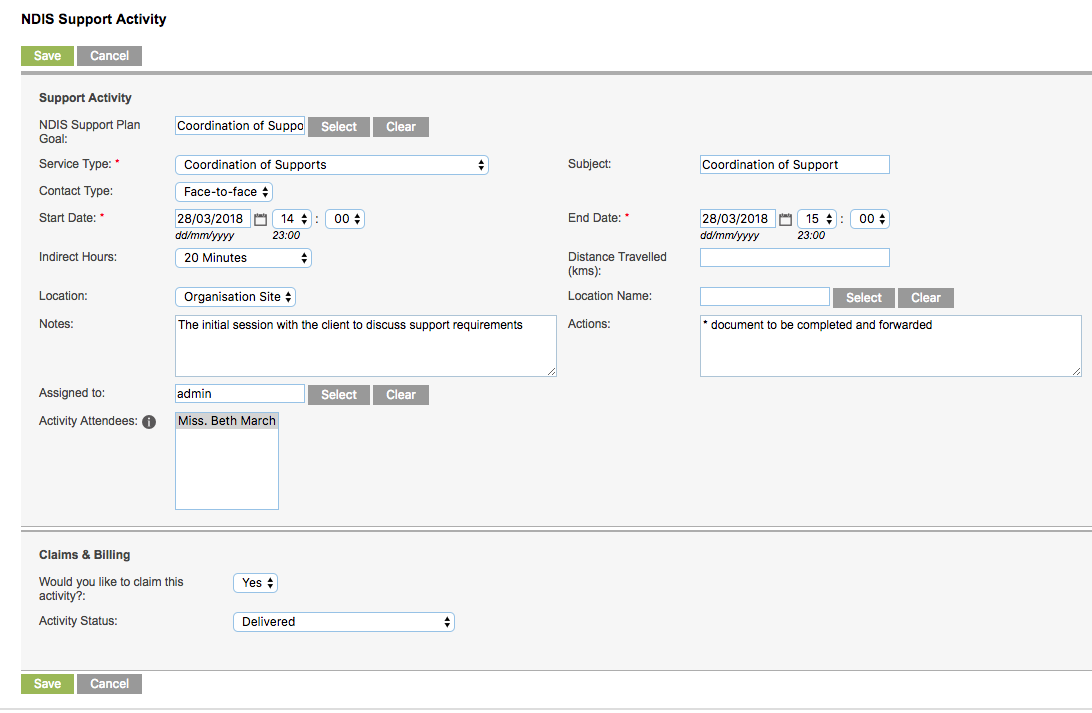
The NDIS Support Activity window is displayed
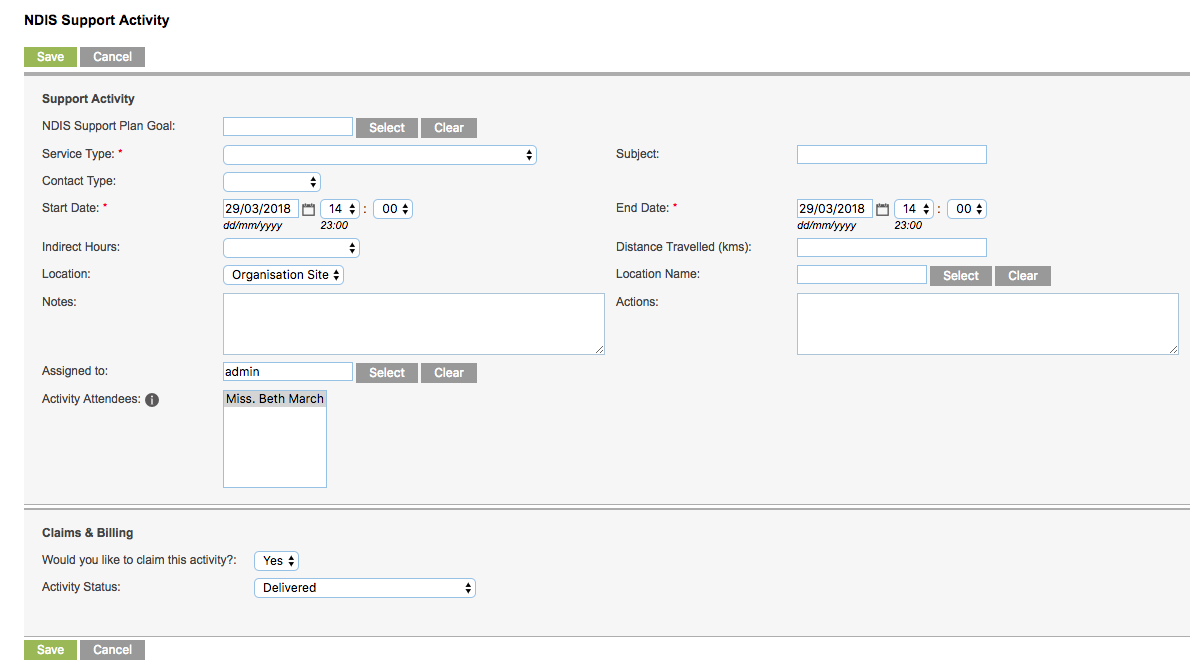
Step 8. Enter the required information
- NDIS Service Booking: Service Booking that this activity relates to
- Click Select to choose from the configured service bookings
- Service Type: NDIS Service type this activity relates to
- This field is automatically populated when the service booking is selected
- Subject: a brief description of the activity
- This field is automatically populated when the service booking is selected
- Contact Type: contact made with the client for this activity
- Select from the drop-down list
- Start Date: Start date and time of the activity
- As this is a delivered activity, the start date must be in the past
- End Date: End date and time of the activity
- As this is a delivered activity, the start date must be in the past
- Indirect Hours: any time spent preparing for the activity
- Distance Travelled: any kilometres travelled to perform the activity.
- Location: where the activity was performed
- Location Name: if another organisation, select the location name from the contacts page, you can also add a new contact.
- Notes: any notes to be recorded against the activity
- Actions: details of the actions of the activity
- Assigned to: defaults to the current use
- Activity Attendees: attendees of the activity
- When created from the Client NDIS Support Plan, the Client will automatically be added
-
-
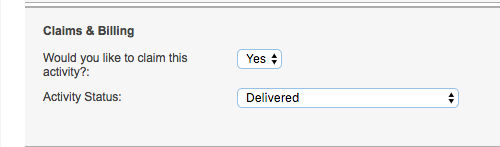
- Step 9. Enter the Claims & Billing information
- Would you like to claim this activity?
- Select Yes
- Activity Status
- Select Delivered
- Would you like to claim this activity?
Step 10. Click Save
Session Attendance and Claims window is displayed
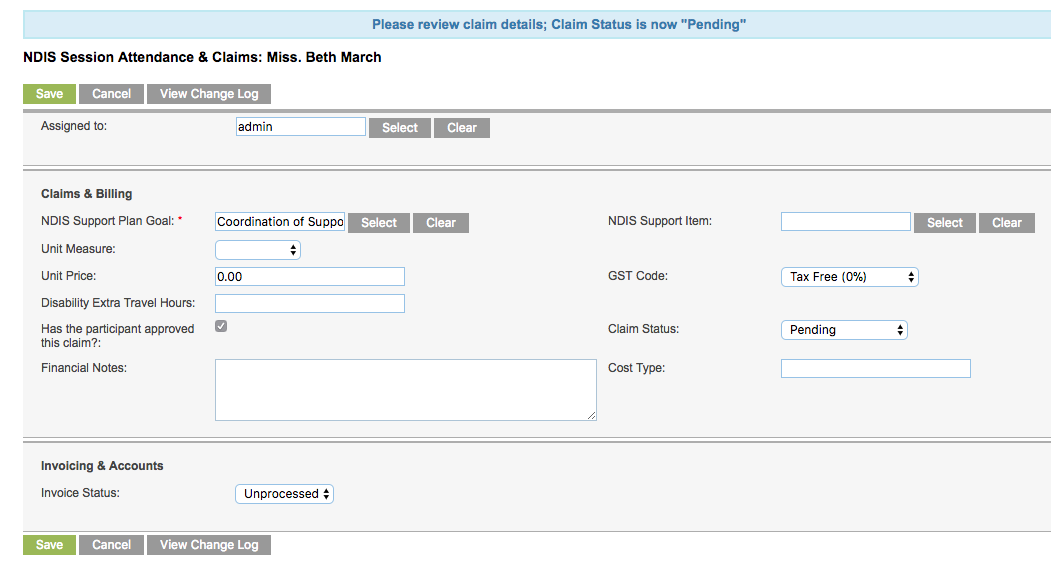
Step 11. Complete the Claim details
- NDIS Service Booking:
- automatically populated from activity
- NDIS Support Item:
- Click Select to choose the appropriate item
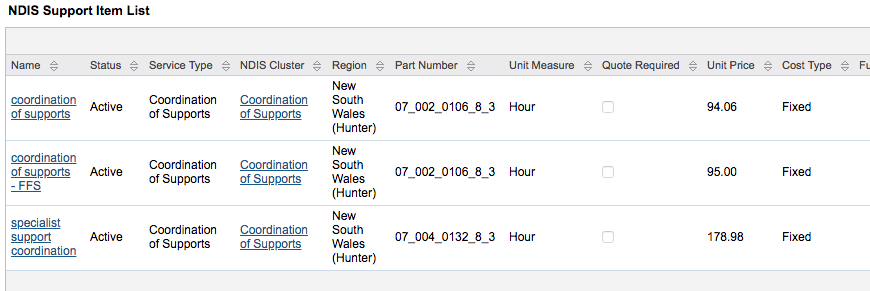
- Unit Measure:
- Automatically populated once Support Item is selected
- Unit Price
- Automatically populated once Support Item is selected
- Disability Extra Travel Hours: enter any extra hours required
- Has the participant approved this claim? The Checkbox is selected by default
- Confirm this with the customer
- Claim Status: current status of this claim
- Automatically set to pending
- Financial Notes: enter any notes required for invoicing
- Cost Type:
- automatically populated for NDIS items
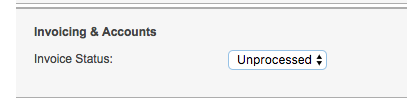
Step 12. Confirm the Invoicing & Accounts Details
Invoice Status – defaults to Unprocessed
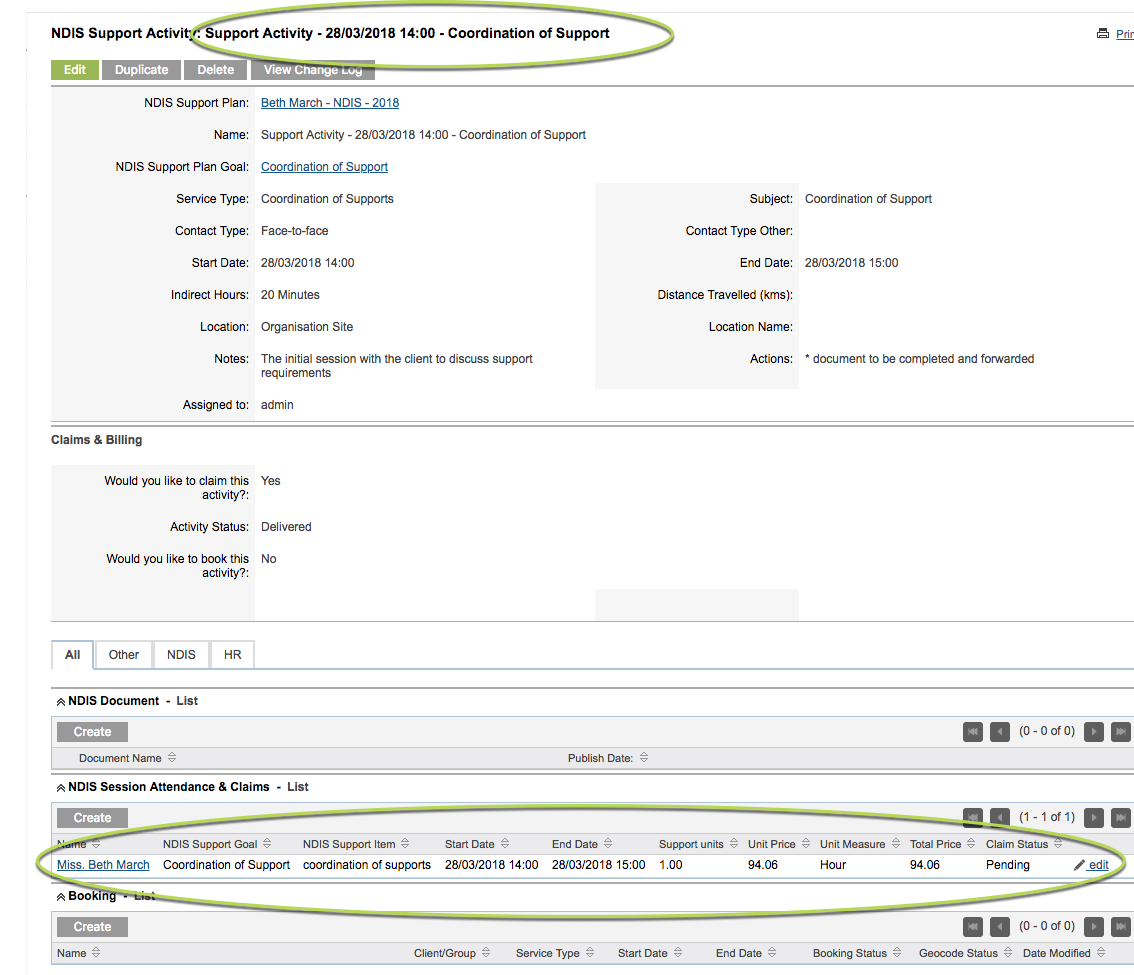
Step 13. Click Save
The Support Activity, Session Attendance & Claims records are created successfully.
- Unit Measure:
-
Next Steps
Further Instructions
For further information, refer to the following articles: