Client Assessments are are surveys completed by your client at the start, during or after an intervention.
This method will place an assessment in your client account they can access and complete using a Community CI Kiosk login.
Instructions
Step 1. Log into your CRM database (refer to Logging On for further information)
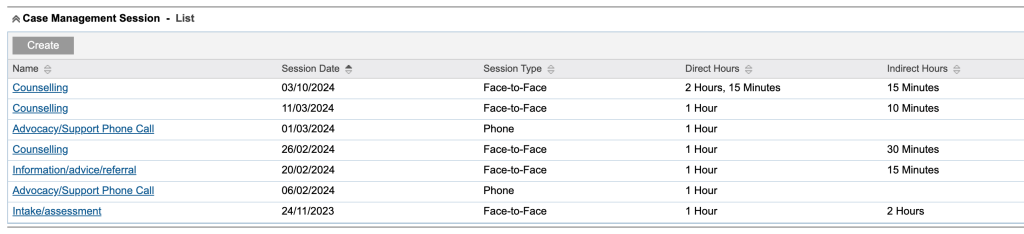
Step 2. Locate the session you wish to assess
This may exist under a variety of sessions e.g. Family Support, Financial Counselling, Settlement Services.
Click on the Session
Step 3. Use the Sup-Panel and click on CI Assessments or Scroll down to CI Assessments

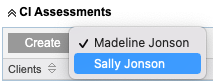
Step 4. Click the Client drop down and select the client to record the assessment against
Click Create button to create assessment for the selected client
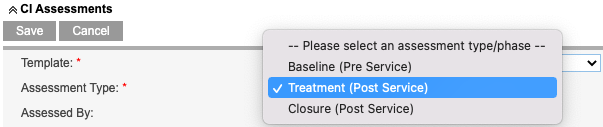
Step 5. Select the required assessment template from the drop down list

Step 6. Select the assessment phase applicable
Tip:
Assessment templates may have different phases depends on the outcomes framework they are part of.
For example the SCORE framework has 2 phases 'Initial' and 'Subsequent'.
Chose the phase most applicable to the intervention stage associated with your session.
Step 7. Select ‘Client via Kiosk’ from the Assessed By drop down list

Step 8. View the CI Assessment list to ensure Kiosk assessment was created successfully.

Your organisation has a unique Kiosk website
Tablets or computers used for assessment Kiosk should be configured with a special shortcut or icon to assist launching the Kiosk
If you don’t have access to a computer configure for Kiosk please contact CDS Support
Step 9. Click on the Kiosk icon in your designated tablet or computer to launch the Kiosk.
Step 10. Assist your client to login to their Kiosk account

Client will login to the Kiosk using their Email address as username and a Special access code.
The default access code is the client’s date of birth as recorded in their profile, for example if the client’s date of birth is 12/04/1989 their access code is 120489
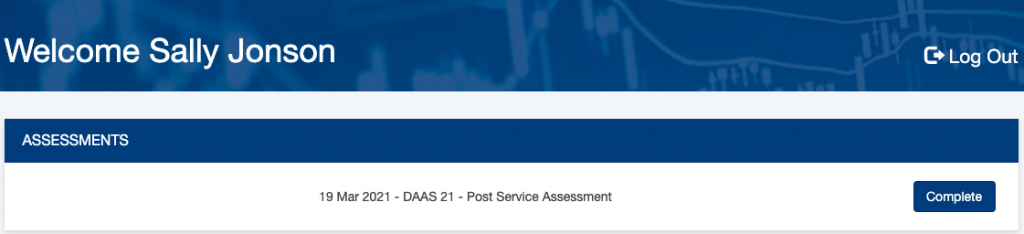
Step 11. The client will be asked to reset their access code if its the first time they have logged in

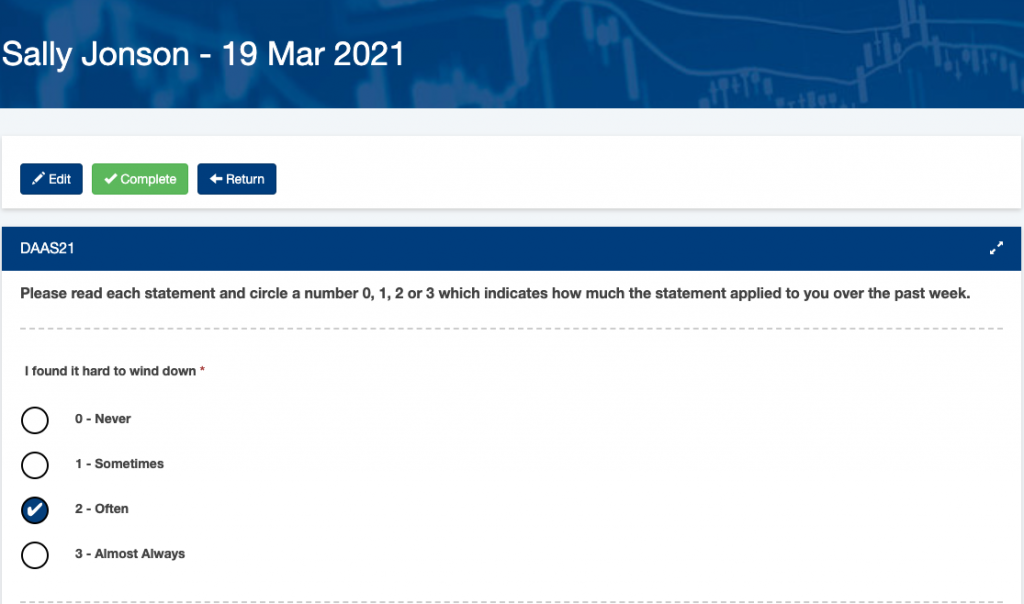
Step 12. Once logged in, the client will be presented with a link to one or more assessments. Ask the client to click on the assessment link and complete all questions.
Step 13. Client answers all required assessment questions

Step 14. Client saves the assessment.

Step 15. Client reviews the answers they have recorded. If they wish to change anything they can click the Edit button and modify the answers
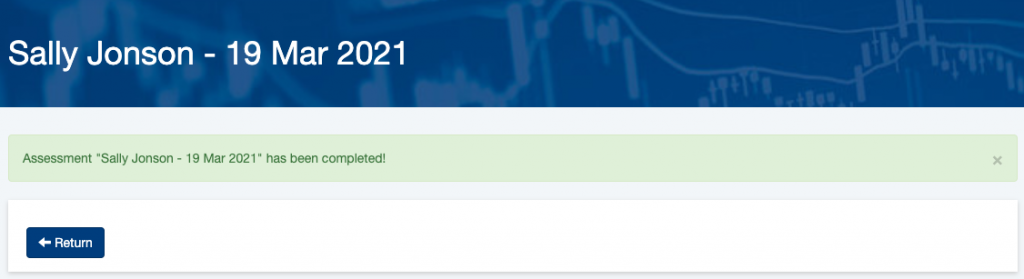
Once they are happy with their answers, they click Complete to finalise the assessment
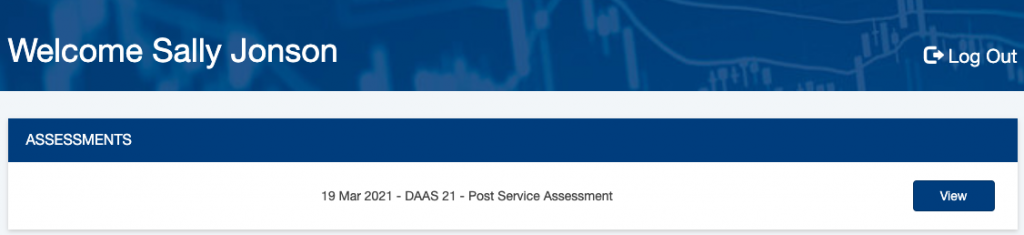
Step 16. On completion the client can click return button to return to the Kiosk home screen
Step 17. Ask the client to log out from the Kiosk
Further Information
For further information, refer to the following articles
- What is Community CI?
- Community CI CDS Website – Client Outcomes & Collective Impact
- Community CI Integration
- CI Assessment – Create a CI Session Assessment
- CI Assessment – Create a Practitioner Assessment
- CI Assessment – create a joint client and practitioner assessment
- CI Assessment – create a client assessment via email
- CI Assessment – create a client assessment via sms
- CI Assessment – Create a Client Assessment via Kiosk
- CI Assessment – Create and send to a 3rd party
- CI Assessment – Send reminders to clients who didn’t complete survey
- CI Assessment – create a group assessment
- CI Assessment – create a group assessment – error