The Community Education module is a module that manages the details of group activity. Group assessment only varies from individual assessment by applying to a group of clients instead of individuals, the practitioner is the one who completes the assessment for a Group
Assessment is done at the Session level of a Case and utilises Community CI
You may know this module as a different name depending on what was required for you as a customer, but whatever the module name is that that you use for Group Work will allow you to do Group Assessment.
Instructions
Step 1. Log into your CRM database (refer to Logging On for further information)
Step 2. Locate the session you wish to assess
Tip:
Search for the Community Education Case then go to the Session in the Case you want to do a Group Assessment
Step 4. When at the session level of the Community Education Case
Use the Sup-Panel and click on CI Assessments or Scroll down to CI Assessments
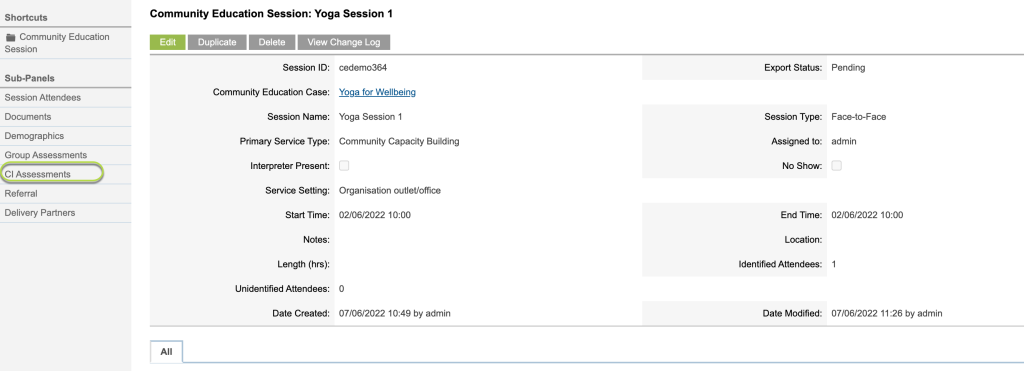

Step 5. On the CI Assessment panel
Click on the drop down arrow next to “Select Client or Assess a Group”.
You will see a list for Client and Group

Select “Create Group Assessment” from the list

Then click on Create button – then go to Step 6 below
OR
If you receive the following error

Tip:
This error has occurred because the Community Education Case i.e. the Group Name starts with numeric values or illegal characters which is not acceptable to DEX
Use this knowledge base (Help?) article to walk through how to correct the error
– Create a Group Assessment – Error
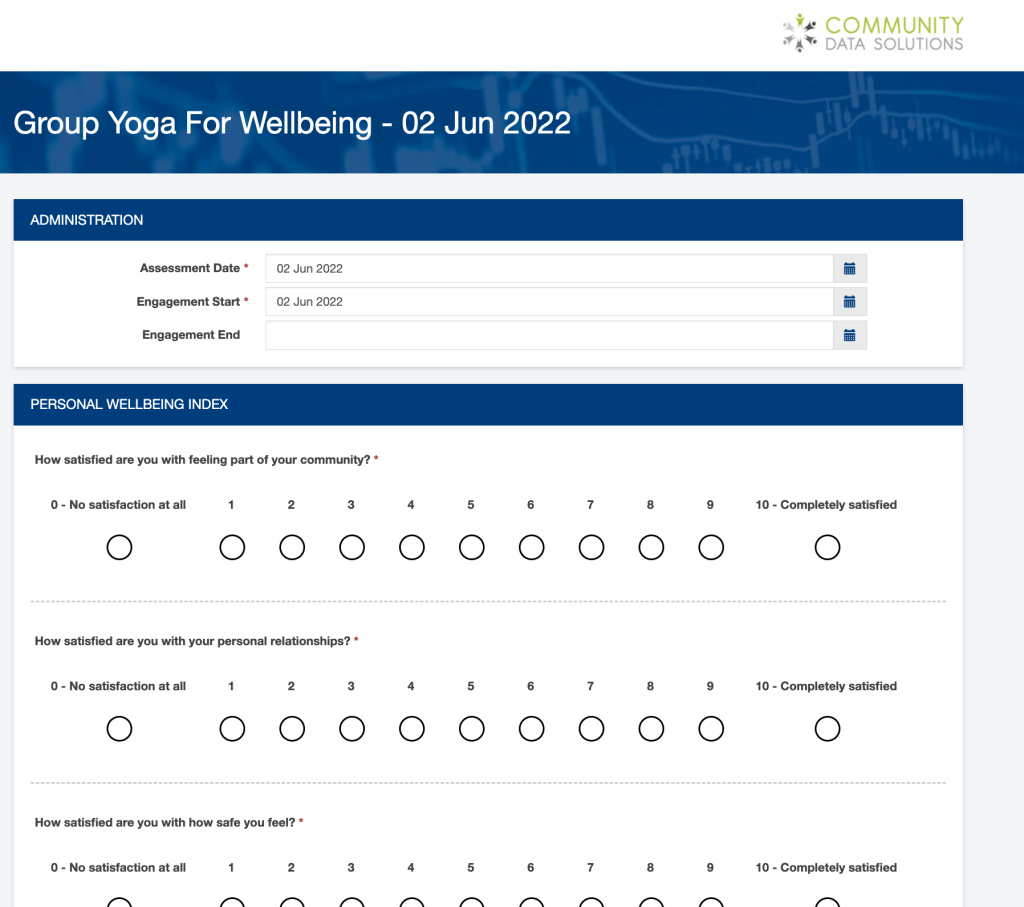
Step 6. You are now at the assessment selection screen
For Template select the Template
For Assessment Type select the Assessment Type
For Assessed By only Practitioner is available so leave as is
Click Save

Step 7. You will know see the assessment in the list with a message
Click on Update in In the CommunityCI Assessment column

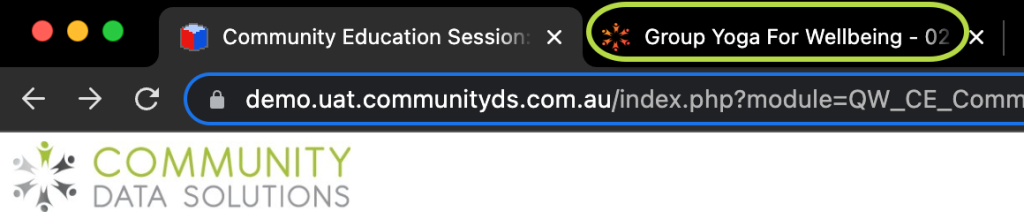
Step 8. The Assessment page is now open in a new browser tab
Click on the tab to the right hand side of your active window to view the assessment
Fill out the assessment
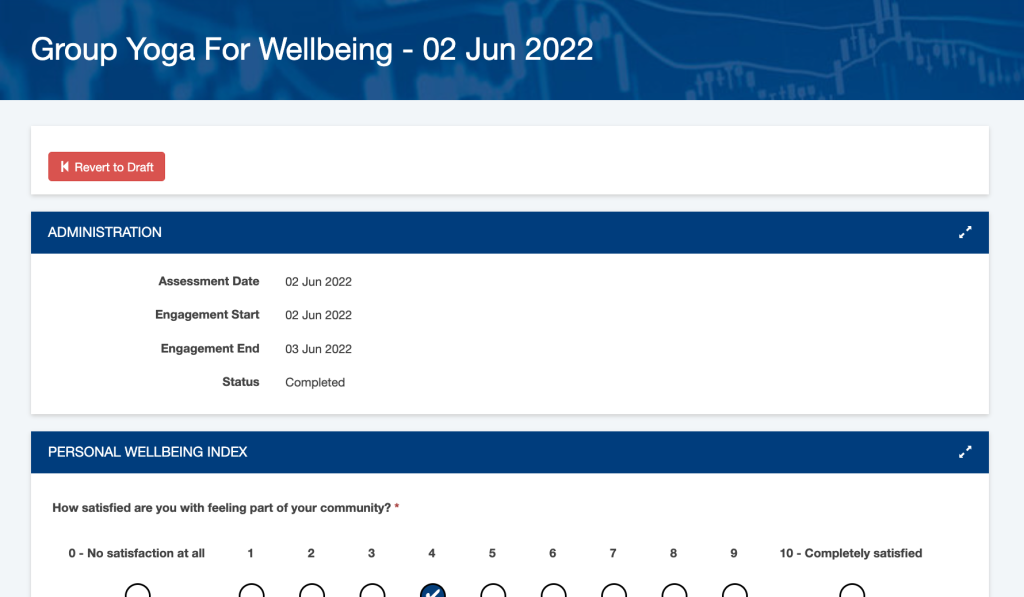
Step 9. Once completed, review what you have entered
Click the Complete button at the bottom of the assessment

Step 10. You will now see a Revert to Draft button at the top of the screen
Note: You will also have Revert to draft button in your CRM database
Close the tab for the assessment
Step 11. You should now be back at your CRM Database
To update your CRM database screen to show the status of the assessment
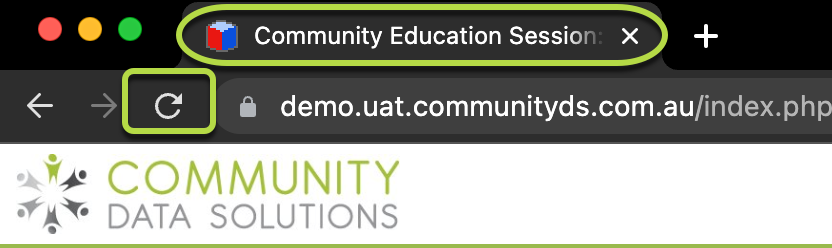
Click on the refresh button in your browser
Step 12. Use the Sup-Panel and click on CI Assessments or Scroll down to CI Assessments
The Status shows as Completed
You now have the in the CommunityCI Assessment column the option of:
– Clicking on ‘View’ which will take you to view the assessment
– Clicking on ‘Revert to Draft’ which will set the assessment back to draft status

Further Information
For further information, refer to the following articles
- What is Community CI?
- Community CI CDS Website – Client Outcomes & Collective Impact
- Community CI Integration
- CI Assessment – Create a CI Session Assessment
- CI Assessment – Create a Practitioner Assessment
- CI Assessment – create a joint client and practitioner assessment
- CI Assessment – create a client assessment via email
- CI Assessment – create a client assessment via sms
- CI Assessment – Create a Client Assessment via Kiosk
- CI Assessment – Create and send to a 3rd party
- CI Assessment – Send reminders to clients who didn’t complete survey
- CI Assessment – create a group assessment
- CI Assessment – create a group assessment – error