Once the NDIS Service Bookings have been created for a Client’s Support Plan, Support Items must be linked to allow activities to be claimed.
Instructions
Step 1. Log into your CRM database (refer to Logging On for further information).
Step 2. Search for the required NDIS Client.
If the client you need does not exist in your database, continue with the creation of a new client, ensuring the Client’s NDIS number is captured.
Step 3. View the Client record
Step 4. Scroll to the NDIS Support Plan sub-panel.

Step 5. Select the required NDIS Support Plan
The NDIS Support Plan page is displayed

Step 6. Scroll to the Service Bookings sub-panel

Step 7. Select the required Service Booking
The Service Booking page is displayed
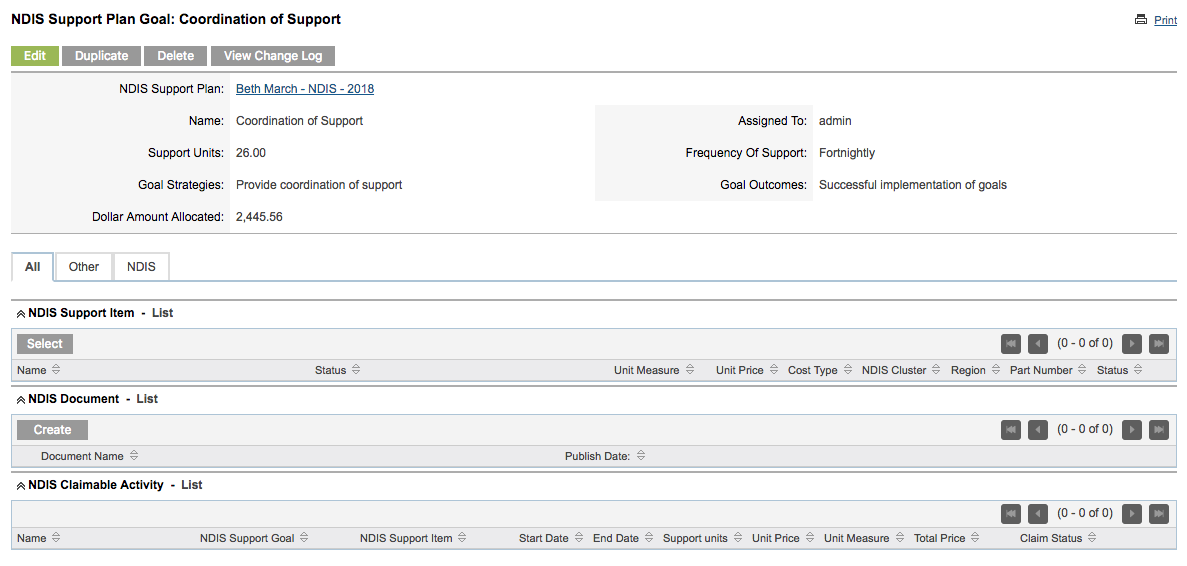
Step 8. Scroll to the NDIS Support Item sub-panel
Click Select

The Search NDIS Support Item window is displayed.
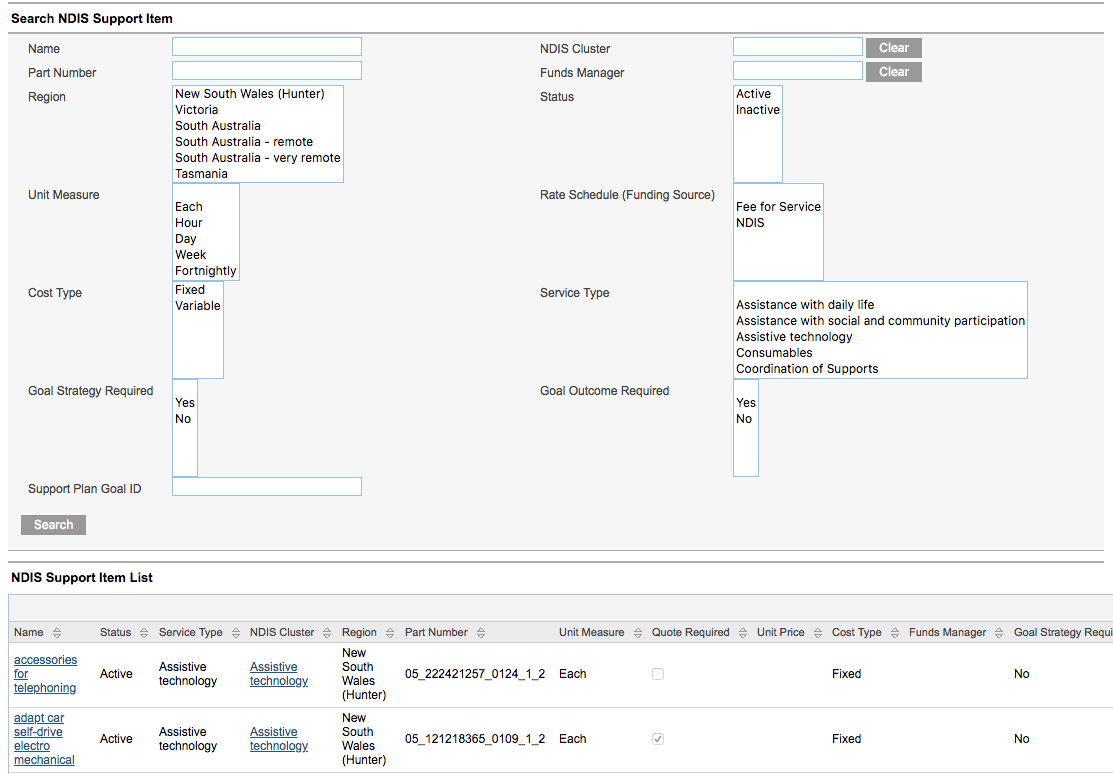
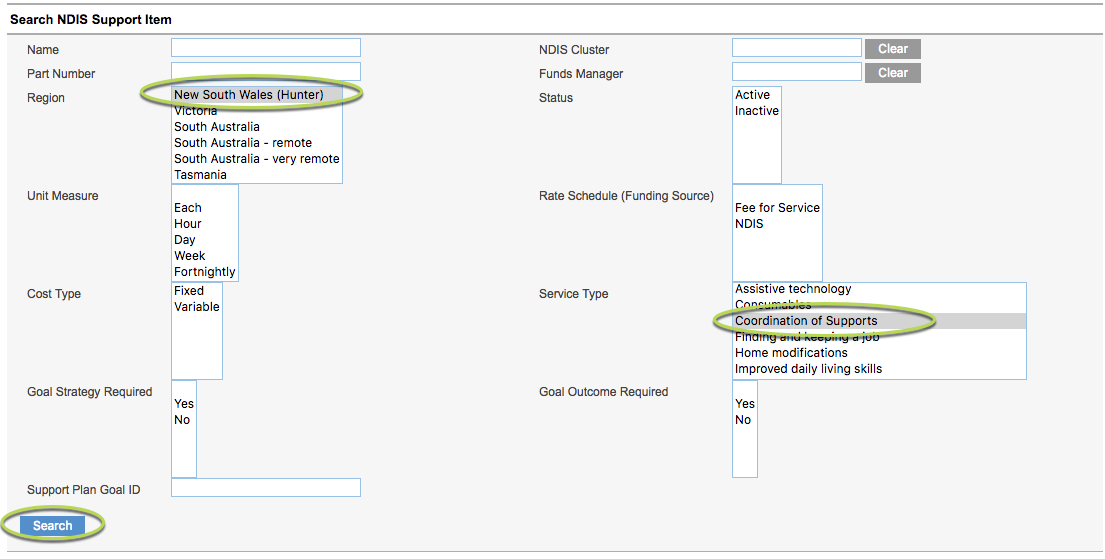
Step 9. Enter the required search criteria. Click Search.
Step 10. Find the required Support Item in the returned list.

Step 11. Click on the name to select the item.
The selected Support Item is added to the service booking.

Step 11. Repeat steps 8-11 for all required Support Items.

Next Steps
Further Instructions
For further information, refer to the following articles: